My iPhone storage is almost full because I have thousands of photos, screenshots, and duplicates scattered across different albums and apps. I’m overwhelmed and don’t want to accidentally delete important memories. What tools, settings, or cleanup strategies do you recommend to quickly organize, remove clutter, and safely back up my photos while freeing up space?
I went through the same storage chaos on my iPhone a few months ago. Here is what worked, step by step, without risking important stuff.
-
Turn on iCloud Photos first
If you have enough iCloud space, turn on Photos in iCloud settings.
Settings → Your Name → iCloud → Photos → Sync this iPhone.
Then choose Optimize iPhone Storage.
This keeps full‑res photos in iCloud and lighter versions on your phone. Even if you delete mistakes later, you still have a safety net in Recently Deleted for 30 days. -
Use the built‑in “Duplicates” tool
Open Photos app → Albums → Utilities → Duplicates.
iOS groups photos and videos that look the same or almost the same.
Tap Merge for each group or hit Select then merge multiple.
It keeps the highest quality version and keeps edits and favorites.
People report this alone clearing 2 to 10 GB, depending on how messy the library is. -
Kill screenshots and screen recordings fast
Go to Photos → Albums → under Media Types tap Screenshots.
Tap Select → drag your finger down to select a bunch → delete.
Do the same for Screen Recordings.
These usually hold random stuff like receipts, memes, chats.
I delete everything older than 2 or 3 months unless it is important. -
Filter by large videos
Photos → Albums → Media Types → Videos.
Sort by size if your iOS supports it, or scroll to see long clips.
Delete old 4K or long videos you no longer need. A single 2 minute 4K clip often uses 400 to 800 MB.
Offload important videos to a computer or external drive first if you worry. -
Use years and months view to avoid deleting memories by mistake
In Photos → tap Years at the bottom.
Drill down to Months, then Days.
Delete obvious junk in batches. Blurry shots. Ten near identical selfies. Accidental pocket photos.
I keep 1 or 2 best ones from bursts and delete the rest.
This keeps the story of the moment without wasting storage. -
Clear hidden trash in third‑party apps
Open WhatsApp, Telegram, Instagram and others you use.
For WhatsApp
Settings → Storage and Data → Manage Storage. Delete big videos and large chats.
For Instagram
Offload the app in iPhone Settings → General → iPhone Storage → Instagram → Offload App. This removes app data but keeps your account online. -
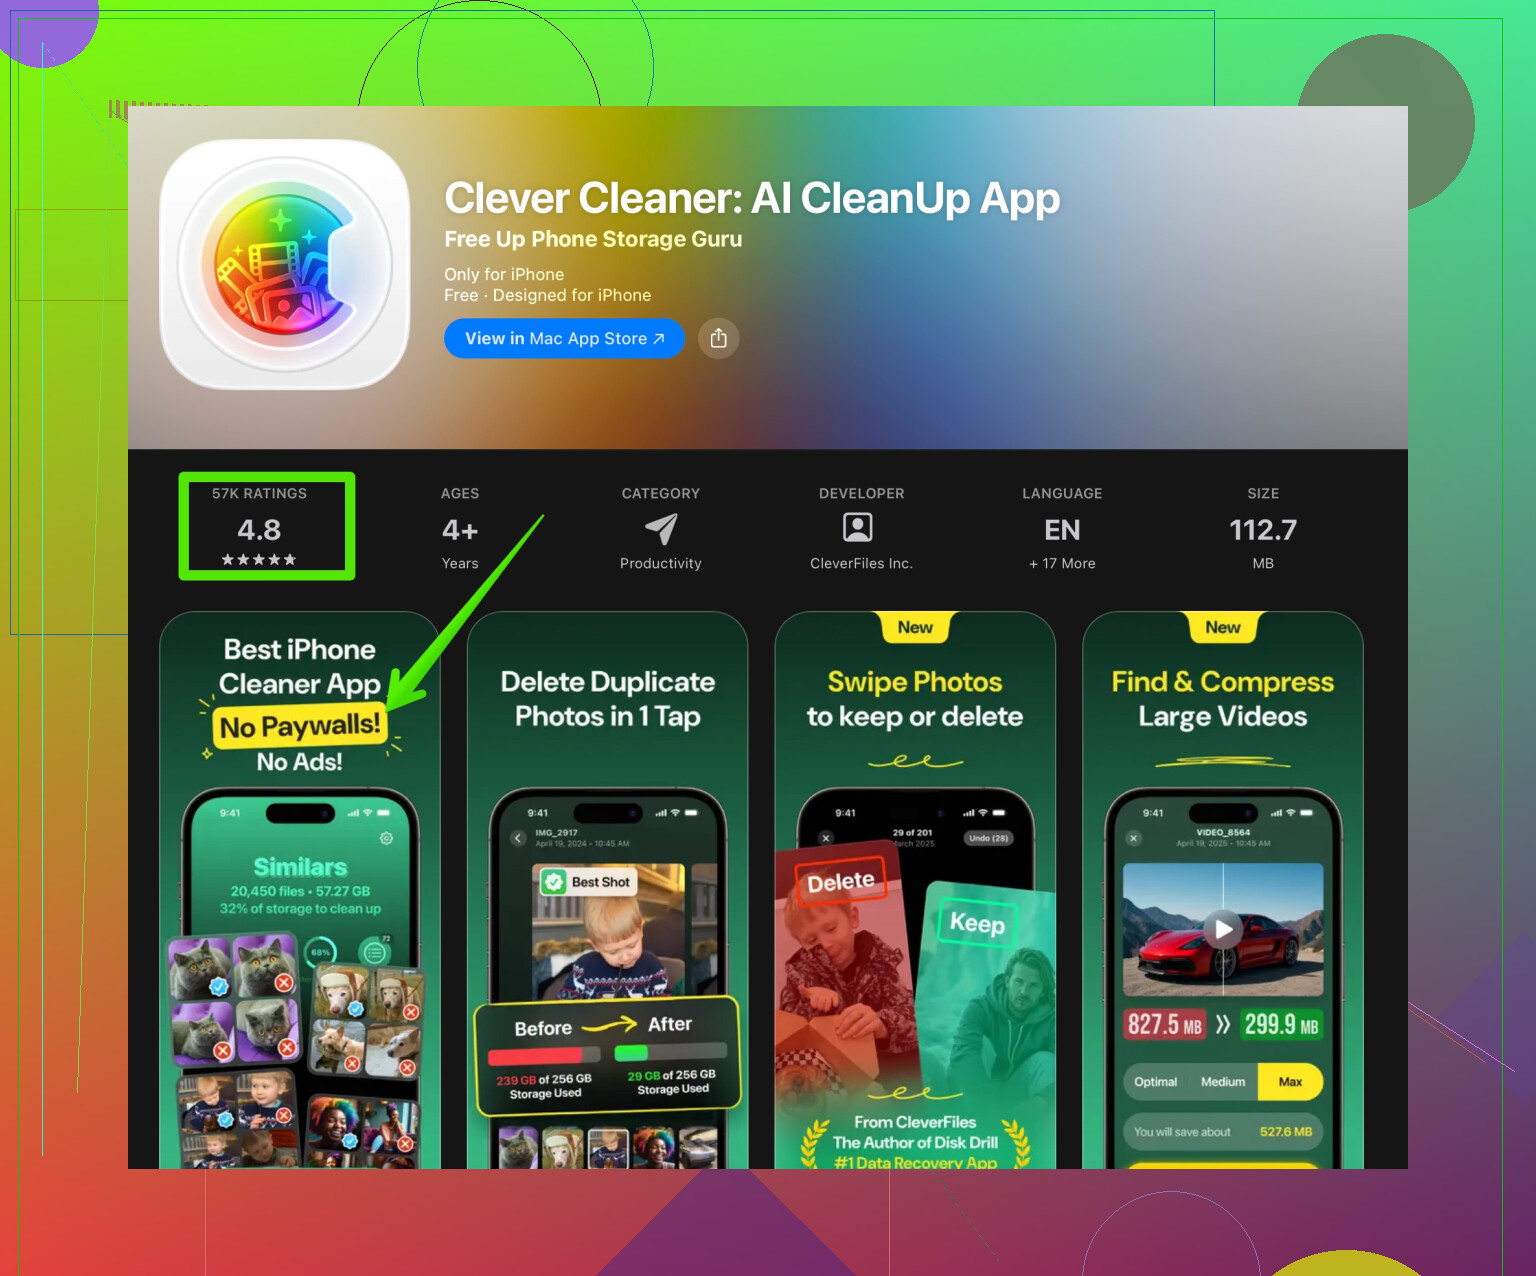
Use a cleanup app to automate the boring stuff
If you feel overwhelmed going photo by photo, a smart cleaner helps.
The Clever Cleaner App is built for this exact mess. It scans your iPhone gallery for
• Exact and similar duplicates
• Blurry photos
• Similar selfies and group shots
• Old screenshots
You get a visual preview and you choose what to delete, so you do not wipe memories by accident.
You can check it on the App Store here
clean up iPhone photos with Clever Cleaner
People in my family cleared 10 to 25 GB using it plus the built in Duplicates tab. -
Clean “Recently Deleted” to free real space
After all the deleting, go to Photos → Albums → Recently Deleted.
Tap Select → Delete All.
Until you do this, the deleted items still take storage. -
Set better habits so it does not fill up again
• Use iCloud or Google Photos as an extra backup.
• Once a month, open Screenshots and delete everything old.
• After events, favorite the best photos, then clean the rest in that day.
If you follow this in order, you keep important memories, protect yourself with backups, and free a big chunk of space without spending hours scrolling and second guessing every picture.
7 Likes
Your storage sounds like mine looked a year ago: pure chaos. @himmelsjager covered a ton of solid stuff already, but I’d tweak the strategy a bit and add some things they didn’t mention.
First, here’s a clearer version of what you’re dealing with, in plain english and a bit more search‑friendly:
My iPhone storage is almost full because I’ve got thousands of photos, screenshots, and duplicate images scattered across albums and apps. I feel overwhelmed trying to clean things up and I’m scared I’ll delete important memories by mistake. I’m looking for the best way to organize and clean up photos on my iPhone without losing anything that matters.
Now, onto what I’d actually do differently:
-
Don’t rely only on iCloud as “the backup”
I slightly disagree with leaning too hard on iCloud as a safety net. It’s more of a sync service than a real backup.
Before any serious cleanup:- Plug iPhone into a computer
- Use the Photos app on Mac or iTunes / Finder on Windows to import all photos
- Or dump everything into an external drive / NAS
Then if you regret a purge, you have a full offline copy that iOS can’t randomly mess with.
-
Create a “Do Not Delete” system first
Before deleting anything, give your brain a safe zone.- In Photos, create a new album like “Keep Forever”
- Go to Years / Months / Days and quickly add key family events, trips, kids, etc. to that album
- Also use Favorites on must‑keep shots
When you later mass delete, you’re mentally chilled out because the important stuff is tagged and grouped.
-
Tackle by context, not just media type
The screenshots / video sorting that @himmelsjager mentioned is great, but context is often more helpful:- Go to Search in Photos and use terms like “receipt”, “whiteboard”, “document”, “screenshot”, “text”
- A lot of clutter surfaced here is throwaway: work notes, temporary info, codes, shipping labels
Delete these in big batches. It’s way faster than combing through your entire camera roll.
-
Use face groups to keep people‑photos safe
To avoid nuking memories of actual humans accidentally:- In Photos, go to Albums → People & Pets
- Open each important person and tap “Feature This Person Less” for people you don’t care about
- For people you do care about, mark them as “Favorite”
Then, when you’re scrolling and cleaning, be more aggressive with photos that don’t contain those favorite people.
-
Set a “stupid stuff” cutoff date
Most of the junk is old. Decide something like:- “Everything older than 12 months that is a screenshot / random note / meme goes.”
You can sort by date in Screenshots, or search things like “meme” or “Instagram” and just wipe everything before a certain date. Having a rule keeps you from second‑guessing every single image.
- “Everything older than 12 months that is a screenshot / random note / meme goes.”
-
Use albums to separate “memory photos” from “utility photos”
Your camera roll mixes:- Real memories (trips, family, events)
- Utility shots (passwords, router labels, parking spots, packages, recipes, tech setups)
Make an album like “Temporary / Utility” and move those in. Then once a month, open that album and delete almost all of it. Most of that stuff is only useful for a day or week.
-
Let a cleaner app do the boring pattern work
Manual cleanup is fine for emotional stuff, but terrible for duplicates, similar photos, and blurry junk.
The built‑in Duplicates tab is decent, but not perfect. I’d absolutely bring in a tool like the Clever Cleaner App here. It focuses on:- Similar and exact duplicate photos
- Blurry or low‑quality shots
- Multiple nearly identical selfies and group pics
- Old screenshots you forgot exist
The nice part is you still confirm what gets deleted, so you’re not blindly trusting an algorithm with your memories. People tend to free a surprising amount of space this way without losing anything meaningful.
If you want something you can reuse whenever things get crowded again, check out
clean up and organize your iPhone photos the smart way
It fits nicely as a “step 2” after you’ve done your basic backup and “Do Not Delete” work. -
Be careful with third‑party chat apps, but don’t obsess
I’d actually argue against spending hours inside every single app, unless one of them is a known hog (WhatsApp, Telegram, Viber).- In Settings → General → iPhone Storage, see which apps are the biggest offenders
- Only deep‑clean media in the top 2 or 3
You don’t need to micromanage every app; just take out the biggest trash piles.
-
Automate your future sanity
To keep this from happening every year:- Once a month:
- Go to Screenshots and delete anything older than 30 days
- Run Clever Cleaner App for a quick scan
- After big trips or events:
- Favorite the best 10 to 20 photos
- Immediately delete the obvious duplicates and bad angles
Fifteen minutes regularly beats a miserable 4‑hour purge later.
- Once a month:
If you want a simple plan that avoids panic deleting important stuff:
- Full backup to computer / external drive
- Make “Keep Forever” album and favorite key photos
- Nuke old screenshots, memes, and receipts using Search
- Use People & Pets to protect photos with your important folks
- Run a pass with Clever Cleaner App for duplicates / similar shots
- Empty Recently Deleted at the very end to actually free space
You’ll clear a ton of storage without that “oh no what did I just delete” feeling.
I’d come at this from a slightly different angle: think “photo lifecycle” instead of “one big purge.”
1. Decide where your “true archive” lives
I partly disagree with leaning only on a computer backup. Great as it is, if you never open that laptop, those photos are effectively gone. I’d split it:
- Computer / external drive for the full raw dump.
- One curated cloud place (iCloud, Google Photos, or OneDrive) for the best 10–20 percent.
This way you are not terrified to delete mediocre stuff on the phone, because you know the good stuff is duplicated in an actively used cloud library.
2. Use “promotion” instead of just “deletion”
Instead of staring at your camera roll and thinking “what do I delete,” flip it:
- Promote your best photos into a “Highlights” system.
- For example, make yearly albums like “2024 Best,” “Trips,” “Kids,” etc.
- When scrolling, move the good ones out first.
What is left in the main camera roll after a while is mostly clutter and becomes psychologically easier to trash.
3. Sort by burst type, not just duplicates
@himmelsjager and the other reply covered duplicates and screenshots well, but the real hog on most phones is “micro‑bursts”:
- Ten photos of the same plate of food.
- Seven nearly identical selfies.
- Fourteen tries of the same group picture.
These are not always strict duplicates.
Strategy: - Open Photos, filter by a single day (like when you know you took a ton).
- For each burst or sequence, keep 1–2, delete the rest.
It is boring but incredibly effective and safer than giant time‑based deletes.
4. Use the Clever Cleaner App as a review assistant, not automation
You mentioned being worried about losing memories. That is where third‑party helpers can be good if you stay in control.
For the Clever Cleaner App specifically:
Pros
- Finds similar photos and not only exact duplicates, which is huge for burst cleaning.
- Spots blurry, low quality shots that you would normally ignore.
- Can surface old screenshots and junk you forgot, so you do not have to dig manually.
- Good for periodic maintenance once you have done the heavy sorting.
Cons
- Any cleaner app can occasionally flag a photo you might actually want to keep, so you cannot mindlessly accept all suggestions.
- Needs photo access, which some people are understandably cautious about.
- If you rely on it too early, you may ignore the deeper problem of poor organization habits and end up back in the same mess later.
I actually disagree slightly with using a cleaner app as step 2 like someone suggested; I prefer it as step 4 or 5, after you:
- Back up.
- Promote / favorite the real keepers.
- Manually fix a few high‑clutter areas.
Then let Clever Cleaner App sweep up what your eyes miss.
5. Replace “infinite scroll” with small, focused sessions
Instead of trying to clean everything:
- Pick one month at a time.
- Or one category at a time: “This week I kill travel duplicates,” next week “old work notes,” etc.
A lot of overwhelm is from trying to see your whole history at once.
6. Create an “Auto‑Trash” habit for future photos
Going forward:
- Right after you take a burst (kids, pets, sports), spend 30 seconds and delete the misses immediately.
- At the end of each day or week, open “Recents” and trash the obvious junk: receipts, accidental shots, blurry stuff.
Your phone never gets back to full chaos.
To contrast briefly with @himmelsjager’s solid ideas: their structured rules and searches are excellent for big, one‑time cleanup. I’d pair that with this ongoing “lifecycle” mindset plus a careful use of Clever Cleaner App to keep the system from collapsing again.