My HFS drive is starting to fail, and I’m planning to replace it soon. Before I swap it out, I need help safely recovering important files without causing more damage or losing data. What’s the best way to copy or recover files from an HFS drive?
Losing files from an older HFS external drive is a bad feeling, especially if it has years of photos, work files, or random stuff you never copied anywhere else. But accidental deletion is not always final. With HFS and HFS+ drives, a lot depends on whether the data has been overwritten yet, so the first move is simple: stop using the drive until you’ve tried to recover what you need.
Before jumping straight into recovery software, check the basics for a minute:
- See if the drive still shows up in Disk Utility.
- Try a different USB cable or another port if it’s an external drive.
- Check SMART status if your enclosure allows it.
- If you’re seeing bad sectors, random disconnects, or painfully slow reads, treat it like a failing drive. In that case, making a disk image first is safer than repeatedly scanning the original disk.
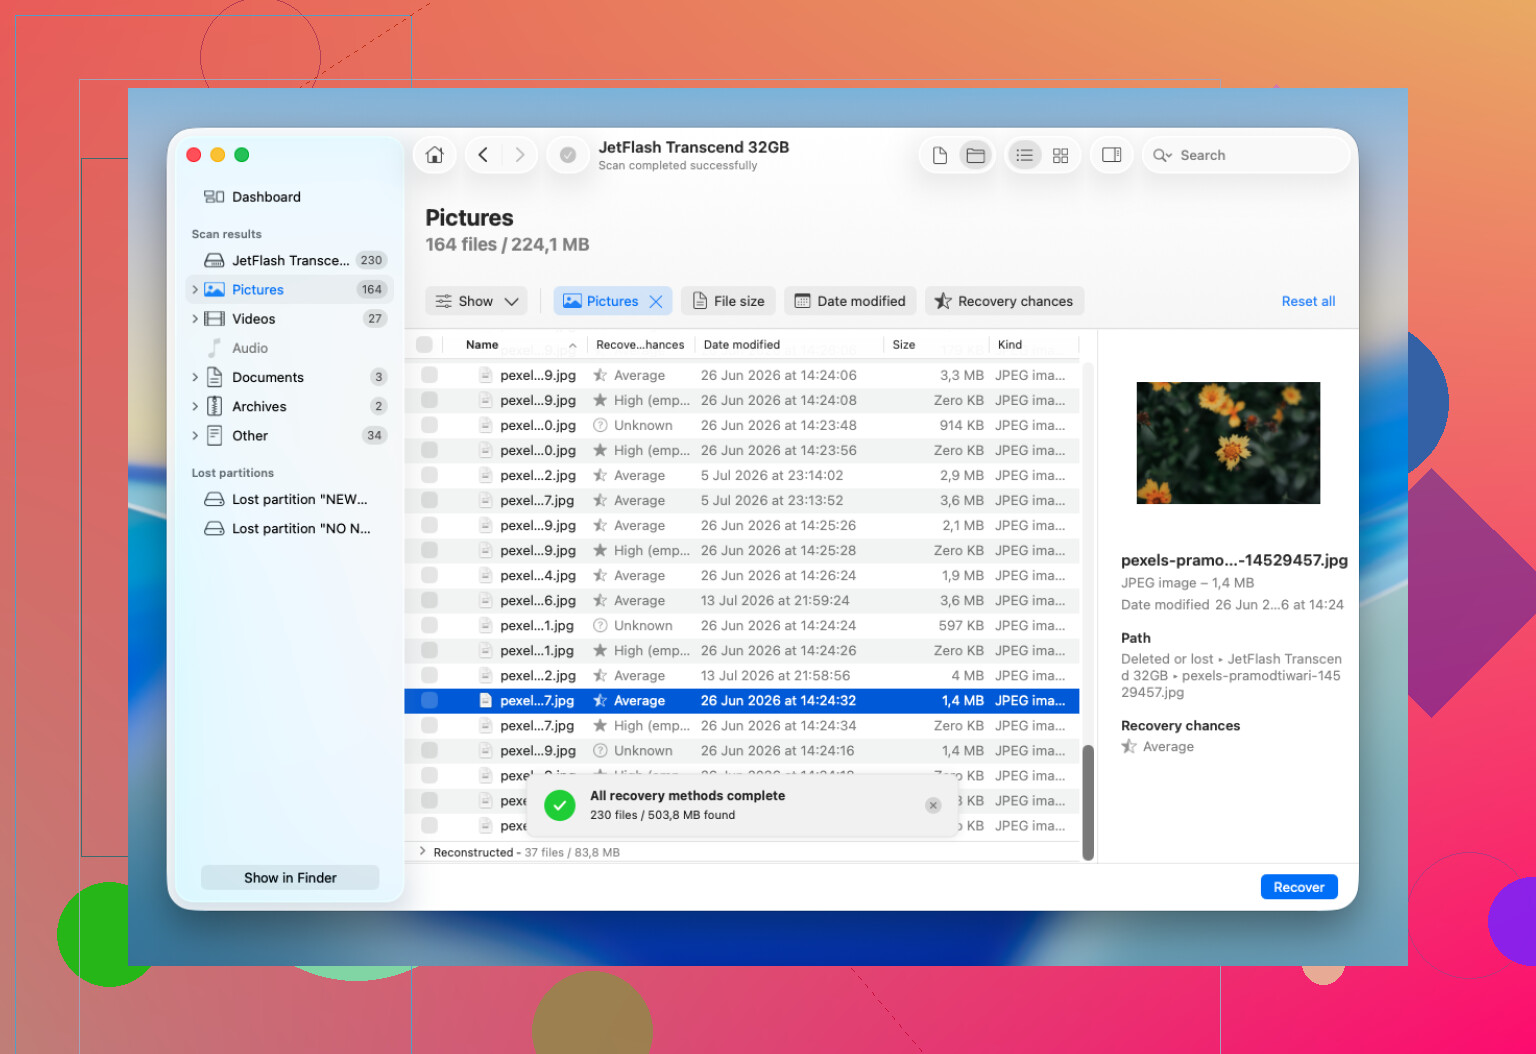
For HFS/HFS+ recovery, Disk Drill is usually the tool I’d point people toward. It’s pretty easy to use, handles HFS volumes well, and can sometimes scan a drive even when Finder won’t mount it, as long as Disk Utility can still see the device.
The basic process is:
- Install Disk Drill somewhere other than the drive you’re trying to recover from.
- Choose the HFS or HFS+ drive in the app.
- Use Search for Lost Data. For most external drives, Universal Scan is the right pick.
- Let the scan finish instead of stopping it early.
- Preview the important files before recovering them.
- Save recovered files to a different healthy drive, not back to the same HFS drive.
Emptying the Trash or doing a quick format also doesn’t automatically mean the files are gone forever. In a lot of cases, the actual file contents stay on the disk until new data replaces them. That’s why continuing to copy files onto the drive, repair it, or experiment with it can lower your chances.
If you have a Time Machine backup, check that first. Restoring from a backup is much cleaner than trying to rebuild files from the disk.
I’d stop with DIY recovery if the drive is clicking, buzzing, grinding, vanishing from Disk Utility, disconnecting constantly, freezing the Mac, or throwing so many read errors that recovery tools can’t finish a scan. Those are more like hardware failure symptoms, and repeated scans can make things worse. At that point, a recovery lab is the safer option.
If the drive is still detected and it isn’t acting physically damaged, recovery software is worth trying before you do anything that writes to or modifies the disk. Accidental deletion and file system issues are usually a lot more recoverable than a dying drive.
11 Likes
Don’t run First Aid or any “repair” option on the failing HFS drive before you have a copy of it. That can write changes to the disk, and on a weak drive even a small write can make the mess worse. If the drive still reads at all, the safest DIY path is to clone/image it first, preferably with something that can skip bad sectors and retry later, then scan the clone instead of the original. Disk Drill is fine for the recovery step if you want a friendlier interface, but I would not make the failing disk sit through multiple full scans if it is already dropping out or crawling. Copy the irreplaceable stuff first, skip huge unimportant folders, and recover to a completely different drive.
The hidden downside with “just copy the important folders first” is that Finder can get stuck forever on one bad file and leave you guessing what actually made it across. I agree with cloning first if the drive is acting sick, but if you’re doing a quick manual rescue, use something that can continue after errors, like rsync in Terminal, and copy to a freshly checked drive with plenty of space. Don’t copy to another old USB disk you found in a drawer. For HFS specifically, keep filenames/metadata in mind too, since dragging files to a non-Mac-formatted target can lose bits of that. Disk Drill or another recovery app is better used after you’ve made the best image/copy you can, not as the first thing that grinds on the failing drive for hours.