I accidentally deleted the wrong partition on my Mac hard drive while managing disk space, and now important files are missing. I’m looking for safe Mac partition recovery options before I overwrite anything or make the data loss worse.
First thing: stop writing anything to the drive. That matters more than the tool you use.
When a file is deleted, or even when a drive gets formatted, the data is not always wiped right away. On macOS, the space may just get marked as free. The file can still be sitting there until new data lands on top of it.
Stop using the affected drive
Do not install apps, download anything, copy files over, or keep using the Mac like normal. Even stuff happening in the background can write to the disk and reduce your chances.
If this happened on an external drive, unplug it for now. If it was the Mac’s internal drive, use the computer as little as possible until you decide what to do next.
Check the Trash first
Start with the normal Trash. It sounds obvious, but it is worth checking before doing anything more involved.
If the missing files were on an external drive, also check the drive’s hidden Trash folder:
- Connect the external drive and open it in Finder.
- Press Shift + Command + Period to show hidden files.
- Look for a folder named .Trashes.
- Open it and see if the missing files are there.
- If you find something, right-click it and choose “Put Back.”
Try Time Machine if it was already set up
If Time Machine was running before the files disappeared, use that before scanning the drive with recovery software.
Open Time Machine from the menu bar, go back to a date when the files still existed, select what you need, and click “Restore.”
If there is no backup, use recovery software carefully
When the Trash is empty and there is no Time Machine backup, data-recovery software is usually the next reasonable step.
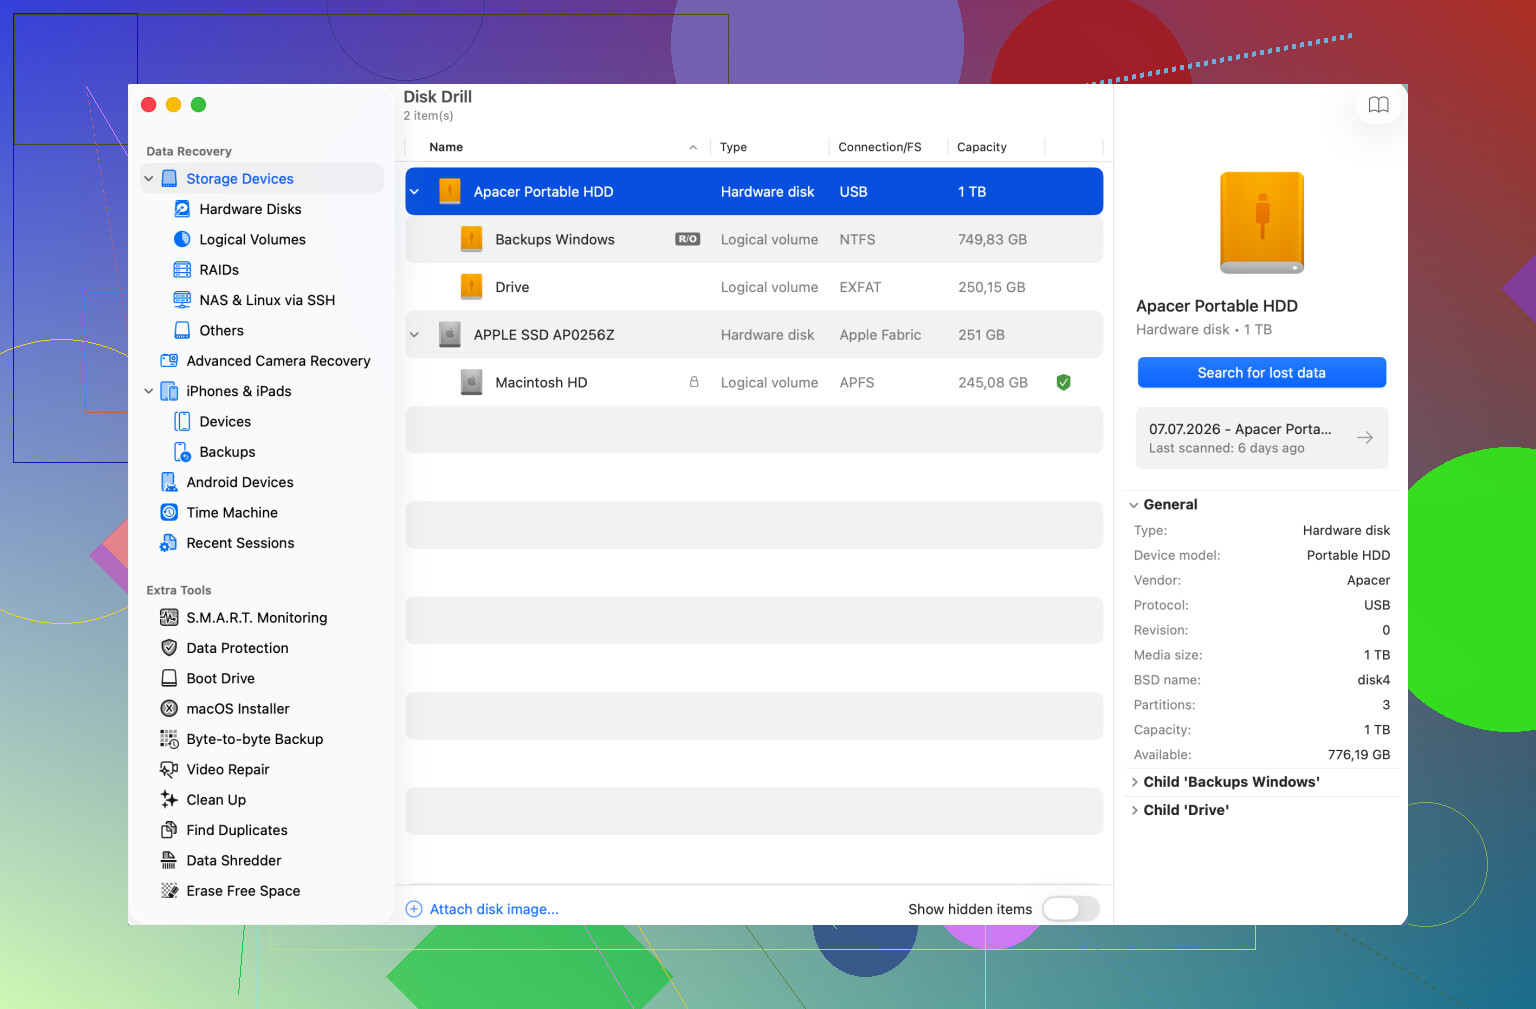
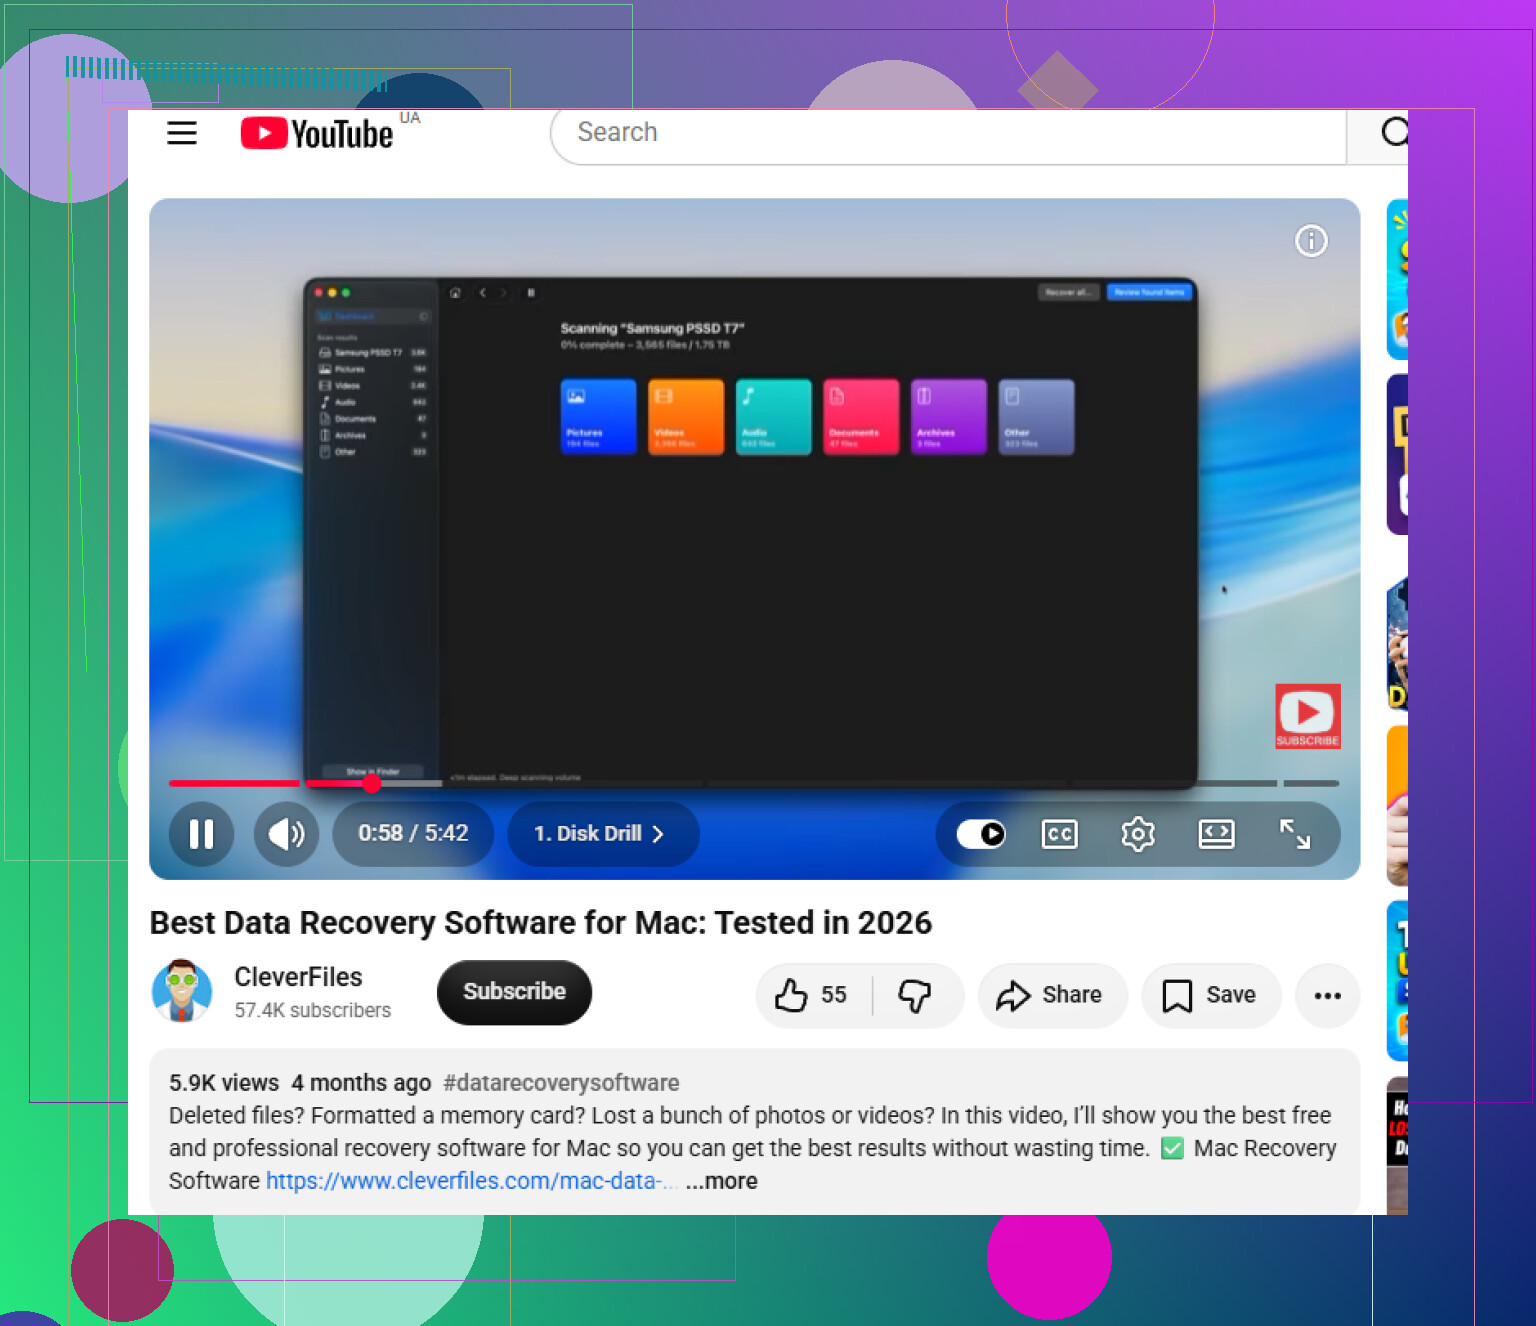
Disk Drill is one option for scanning Mac file systems like APFS and HFS+. It can look for recoverable file records and also identify files by their internal signatures, which helps when names or folders are damaged.
Do not install the recovery app onto the same drive you are trying to recover from. Use another drive for the software, and save recovered files to a separate storage device too.
If the drive seems unstable, make an image first
If the drive is freezing, disconnecting, taking forever to load, or randomly disappearing, do not keep hammering it with repeated scans.
Create a byte-for-byte disk image first, then scan that image instead of the physical drive. That gives you a fixed copy of the drive in its current state and puts less stress on hardware that may be failing.
Stop immediately if the drive is making bad noises
Clicking, grinding, repeated spin-up sounds, or strange whirring can mean physical damage.
At that point, do not keep running software scans. Disconnect the drive and talk to a professional data-recovery lab. Software cannot fix a mechanical problem, and continuing to power the drive can make things worse.
Afterward, set up backups
Once you get through the recovery attempt, set up a backup routine so this is not your only copy again. Time Machine is good for a local backup, and a cloud backup gives you an off-site copy.
For now, keep it simple: stop using the drive, check Trash and Time Machine, image the drive if it is acting weird, and recover anything found to a different device.
5 Likes
Deleting a partition is not the same problem as emptying the Trash. If the partition entry itself was removed, you may need to scan the whole physical disk, not just the volume that still shows up in Finder. A lot of recovery tools will default to the mounted volume, which can miss the area where the deleted partition used to be.
@mikeappsreviewer is right about not writing to the drive, but I’d be even more strict here: don’t recreate the partition, don’t “initialize” it when macOS asks, and don’t run random repair steps just because Disk Utility offers them. Those actions can make the old layout harder to recover. If it was an APFS setup, remember that containers and volumes can be layered in a way that makes the missing partition look less obvious than an old HFS+ partition.
If you try Disk Drill or any similar tool, use it to scan the entire device and preview files before recovering. Save anything recovered to another drive. If the files were on an encrypted partition, you’ll probably need the password or recovery key, otherwise the scan may only find encrypted data that is useless. And if this was the internal SSD of a newer Mac, keep expectations realistic because TRIM can reduce recovery chances after deletion.
Disk Utility’s First Aid is not a recovery step for this situation. It is meant to repair file system structures that still exist, and if the partition entry is gone or the APFS container layout is damaged, “repairing” the wrong thing can make the mess harder to untangle.
The safest next move depends on what actually happened when you “deleted the partition.” If you only removed the partition from the partition map and did not erase, format, or create a new partition in that space, the old data may still be sitting there. In that case, the best result is finding the old partition/container boundaries again, not doing a normal file-by-file recovery. File carving is the fallback when the structure is too damaged, but it usually loses folder names, filenames, dates, and app library organization.
I would avoid clicking anything in Disk Utility that offers to initialize, erase, add, resize, or convert. macOS can be very casual about offering buttons that sound helpful but are destructive in a recovery context.
If this is an external drive, I’d work from another Mac or another boot drive and treat the affected disk as read-only as much as possible. If it is your internal disk, that is more awkward because macOS keeps writing logs, caches, Spotlight data, sleep files, and other junk while you are sitting there thinking. In that case, shut it down and boot from an external installer or recovery environment if you have the gear to do that. If you do not, at least don’t keep browsing, installing tools, or “testing” ideas on the same disk.
Disk Drill can be useful here, but I would not use it as a magic “restore partition” button without checking what it found first. Scan the physical device, look for the missing APFS container or volume, preview files, and recover to a separate disk. If it only shows thousands of nameless files by type, that means it is probably doing signature recovery rather than finding the original file system. That may still save some files, but it is a worse result than recovering the actual volume structure.
For a cheaper first look, some people try tools that inspect partition tables and lost partitions before paying for a full recovery app. The catch is that APFS makes this less friendly than older HFS+ setups, and a tool that works well for old MBR/FAT drives may not understand your Mac layout properly. I would only use anything like that in read-only mode until you are very sure what it is proposing to write.
A detail people often miss: if this was a Time Machine disk, Photos library, Final Cut library, Lightroom catalog, or anything with package files, partial recovery can look better than it really is. You might recover a big “library” file that Finder shows as one item, but the internal database may be broken. So don’t judge success only by file size. Open copies from the recovery destination and check the actual contents.
Encryption matters too. If the deleted partition was FileVault/APFS encrypted, you are probably not recovering useful files without the password or recovery key. A scan may still show something, but encrypted blocks are just noise without the key.
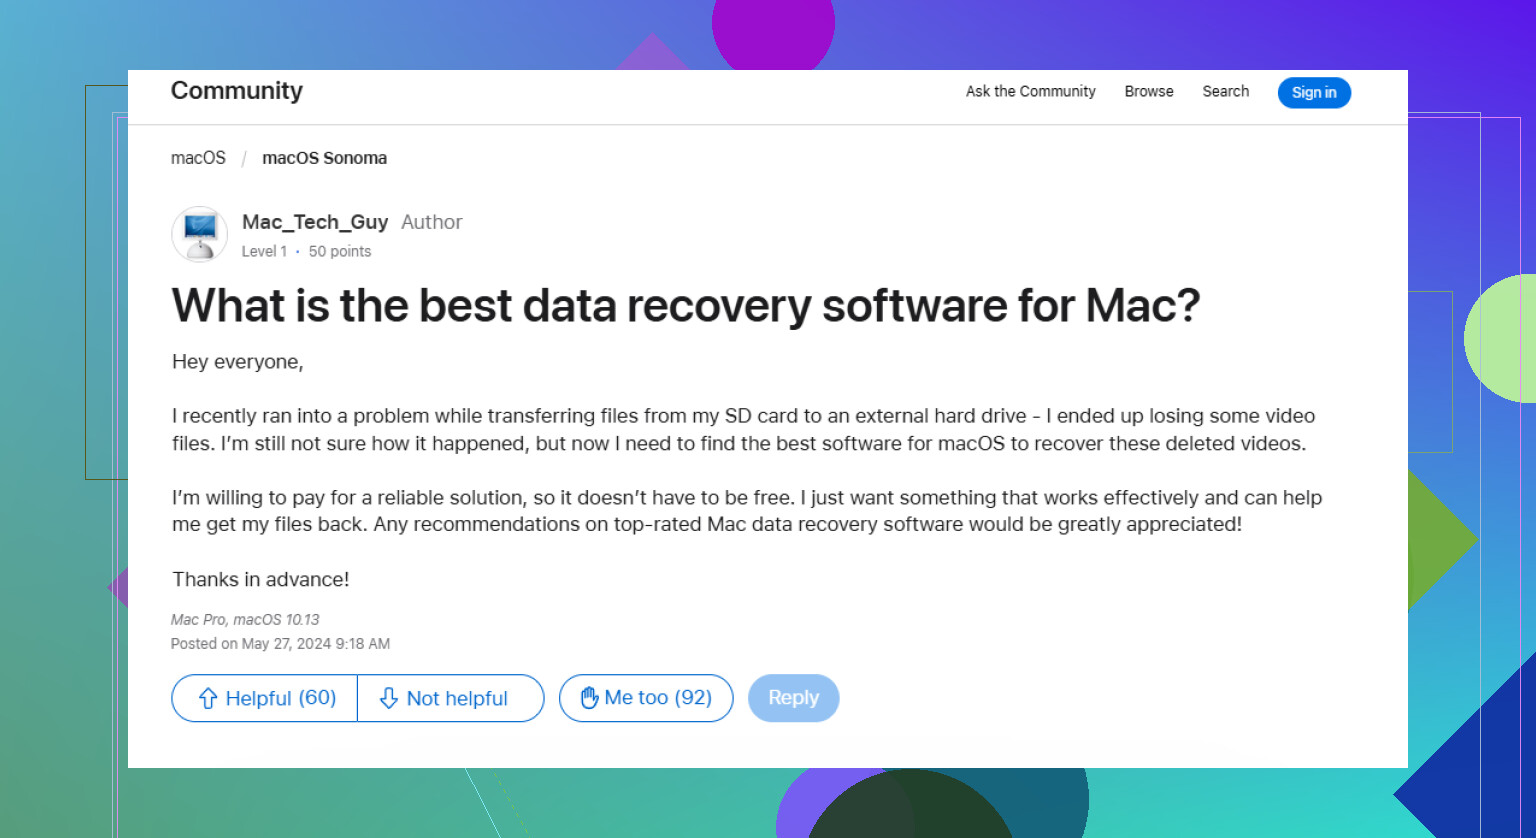
Apple’s forums tend to point people toward third-party recovery tools once backup options are gone, and there’s a related Apple Community discussion about Mac data recovery software, but I’d treat any software recommendation as secondary to the “do not write to the disk” rule.
My practical order would be: power down, get another drive with enough free space, make a clone or image if possible, scan the clone or the physical disk read-only, recover to a third location, then verify the recovered files before touching the original layout. If the missing data is business-critical or irreplaceable, skip the experimenting and ask a recovery lab first. The expensive part is not the deleted partition. The expensive part is accidentally turning a recoverable deleted partition into a half-overwritten one.