My old iPhone has gotten really slow, but I’m worried that clearing storage, updating iOS, or resetting it might delete my photos. I need safe ways to improve iPhone performance while keeping my pictures backed up and protected.
If an older iPhone feels slow, a restart might make it seem better for a minute, but it usually does not fix the real reason it is lagging. A factory reset is also overkill for a lot of cases. The better approach is to check the things that actually make iOS slow down.
Check battery health first
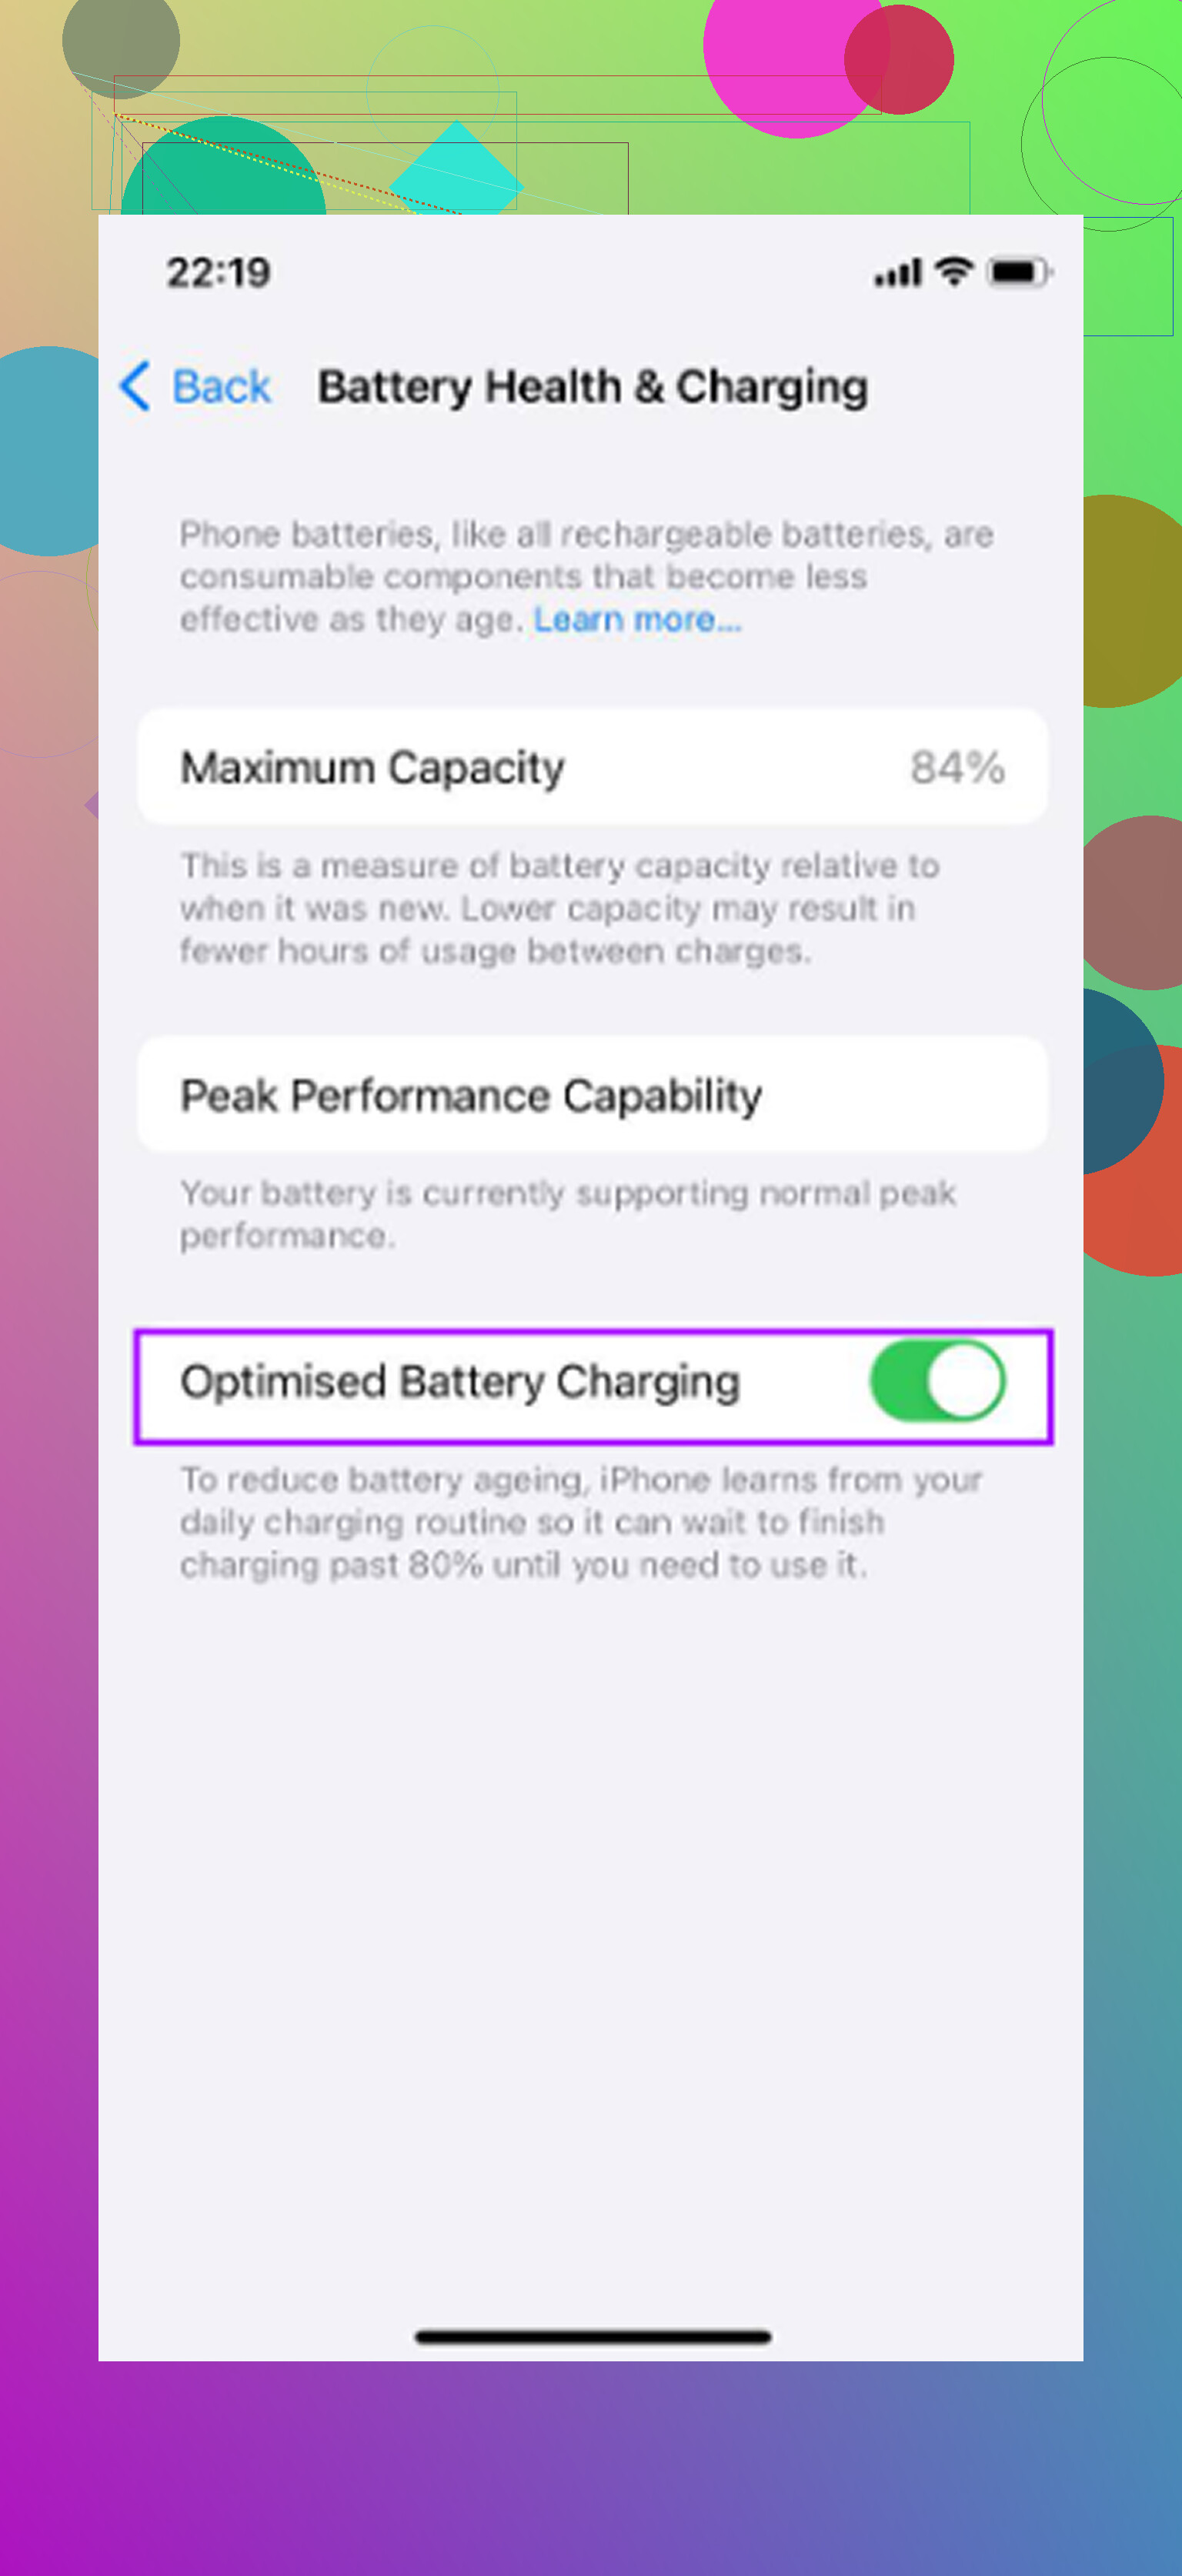
Before changing random settings, go to Settings > Battery > Battery Health and Charging. If Maximum Capacity is under 80 percent, that is probably the main issue. iOS can limit CPU performance when the battery is degraded so the phone does not randomly shut off.
At that point, storage cleanup and animation tweaks are not going to matter as much. Replacing the battery costs way less than buying a new phone, and it usually does more for performance than any setting you can toggle.
If the battery is still above 80 percent, then it makes sense to look elsewhere.
Turn on Reduce Motion
Go to Settings > Accessibility > Motion and turn on Reduce Motion. This cuts down the zoom animations you see when opening and closing apps and swaps them for simpler fades.
That sounds minor, but on older iPhones the graphics chip has to render those animations constantly. Removing some of that work makes the phone feel snappier right away, especially when switching between apps.
Shut off Background App Refresh
Go to Settings > General > Background App Refresh and turn it off. Apps with this enabled can keep checking for updates, contacting servers, and refreshing content even when you are not using them.
Newer iPhones handle that pretty easily. Older ones do not have as much headroom, so background activity can take resources away from whatever you are actually trying to do.
Reduce transparency, but watch Low Power Mode
Another useful one is Settings > Accessibility > Display and Text Size, then enable Reduce Transparency. The blur and glass-style effects in iOS are not free. They use GPU resources, and older hardware can feel that extra load.
Also, do not leave Low Power Mode on all the time if speed is the priority. It saves battery partly by limiting performance, so the phone can feel slower by design.
Storage matters more than people think
This is where a lot of basic “speed up your iPhone” advice misses the point. iOS needs free space for caches, indexing, temporary files, and general system work. Once storage gets too full, especially around 85 percent or more on older devices, the phone has very little room to breathe.
That is when you start seeing the annoying stuff: apps opening slowly, the camera taking too long to launch, typing lag, and general delays that seem to get worse over time. Accessibility settings can help, but if the phone is almost full, the lag usually comes back.
The cleanup that actually frees up space
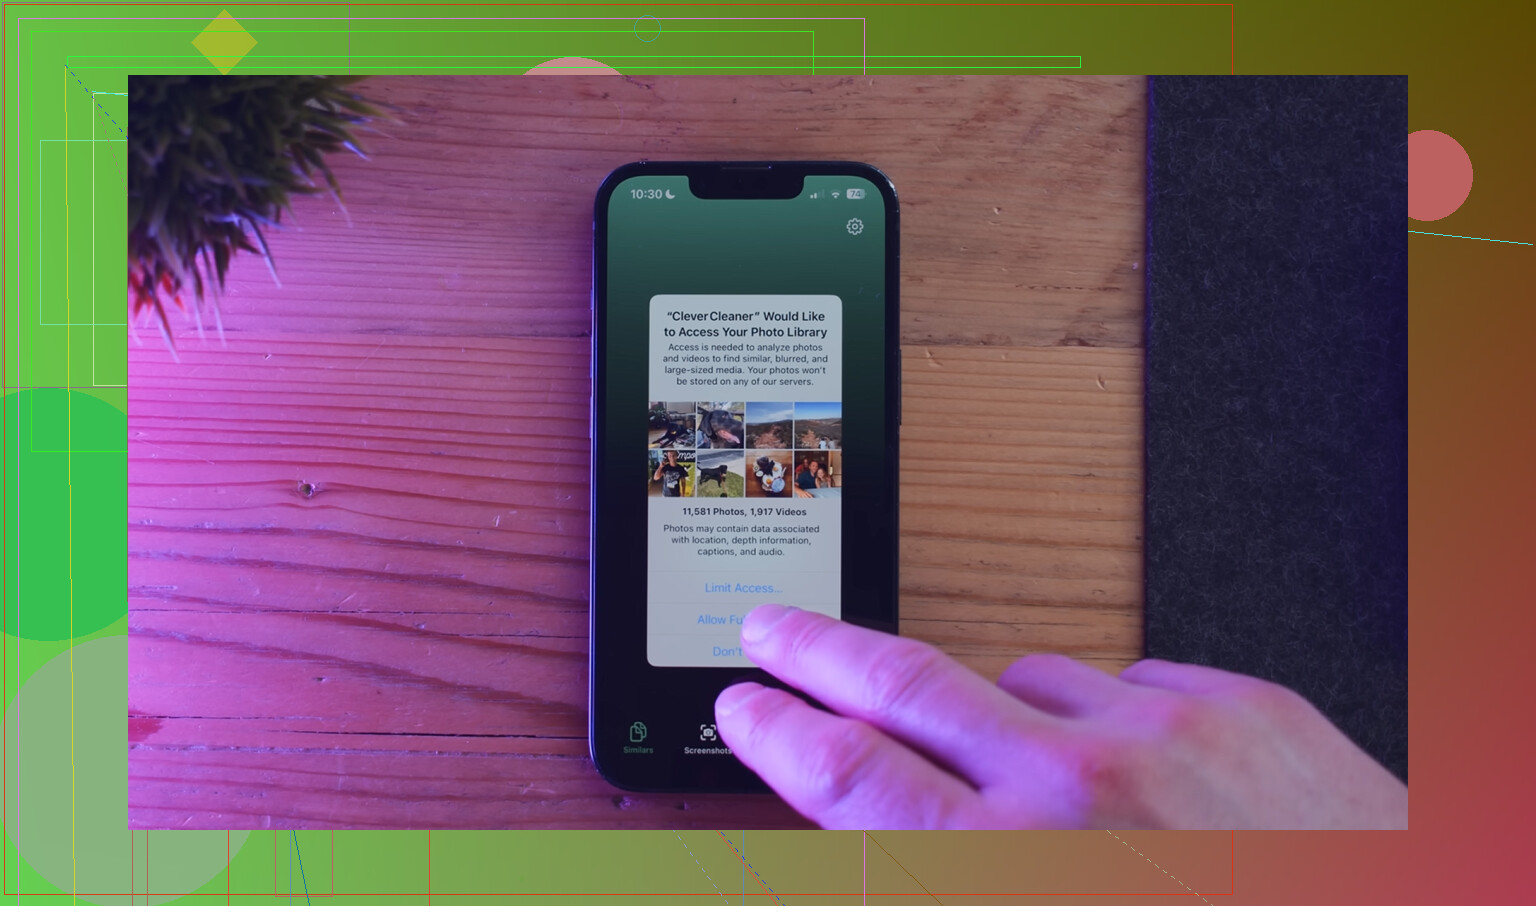
Manually digging through years of photos and videos is miserable, especially if there are thousands of them. Clever Cleaner made that part much easier. It is free, with no ads and no subscription.
The most useful order was:
- Start with the Heavies tab. It sorts files from largest to smallest and shows exact file sizes, so big screen recordings and old 4K videos are easy to spot. A few of those can take up more room than hundreds of normal photos.
- Then use the Similars tab. It finds near-duplicate photos across the library and marks the sharpest one in each group. This is helpful for burst shots, repeated pictures of the same thing, or several angles taken seconds apart.
- Check Screenshots next. Since each screenshot shows its size, it is easier to decide what is worth deleting.
- Everything runs on the iPhone itself, so the files are not uploaded somewhere else.
The best order is battery first, settings second, storage cleanup third. After deleting photos or videos, make sure to empty Recently Deleted in Photos too, or the storage number will not really change yet.
Each part fixes a different bottleneck. Battery health deals with throttling. The settings changes reduce extra work for the CPU and GPU. Clearing storage gives iOS enough free space to operate normally again. Put together, those steps can make an older iPhone feel much closer to how it used to run, without wiping the whole device.
17 Likes
Don’t start deleting photos from the Photos app until you know how they’re backed up, because with iCloud Photos on, deleting them on the phone deletes them from iCloud too.
Use Settings > your name > iCloud > Photos and confirm syncing is complete, or copy the photos to a computer/external drive first. After that, free space by removing apps, old Messages attachments, downloads, and offline media before touching the camera roll.
Make a local backup before you start “cleaning,” even if iCloud Photos looks fine. Plug the iPhone into a Mac or PC, make an encrypted Finder/iTunes backup, and only then mess with storage, iOS updates, or reset options. iCloud syncing is not the same as a safety copy, which is why people get burned when deleting photos and then realize the deletion synced everywhere. After that, I’d avoid a factory reset unless the phone is still awful after freeing space and checking battery health. For a quick win, remove big apps you can reinstall later and clear old video-heavy message threads before touching the photo library.
Don’t empty Recently Deleted until you have actually checked the photos from another device or computer. Deleting big videos can free space fast, but that album is your last undo button if you picked the wrong stuff, so verify the backup first and clear it afterward.
If your Photos setting is on ‘Optimize iPhone Storage,’ deleting pictures barely helps, because the full-size files are already in iCloud and only lightweight versions sit on the phone. In that case your storage hog is somewhere else, usually apps, message attachments, or leftover video downloads, not the camera roll. Worth checking Settings > General > iPhone Storage first so you’re not risking photos to free up space that photos aren’t even using. The cleanup tool @mikeappsreviewer mentioned is fine for spotting the genuinely huge local files, but I’d sort by that storage screen before assuming photos are the problem at all.