My hard drive started making clicking sounds and now it has bad sectors, and I’m worried it’s about to fail completely. It has important files I really need to recover, but I’m not sure if I should try data recovery software or stop using it right away to avoid more damage. Looking for help with the safest way to recover data from a failing hard drive with clicking noise and bad sectors.
If your drive is throwing CRC errors, freezing on folders, or stalling during reads, stop using it now. I learned this the hard way. I kept poking a sick drive, tried reopening the same folder over and over, and it got worse by the hour. If it is an external drive, unplug it. If it is your system drive, shut the machine down and leave it alone until you have a plan.
What usually happens is simple. The drive firmware keeps retrying bad reads. Windows joins in and keeps hammering the same spots. More retries means more wear, more heat, more chances for a small issue to turn into damage you do not come back from.
What those bad sectors usually mean
There are two broad cases.
Soft bad sectors are often data mismatches. I have seen them after sudden power loss, forced shutdowns, and sketchy USB cables. The storage surface might still be fine. The problem sits in the data or error correction info.
Hard bad sectors mean physical trouble. Damaged platter area. Weak head. Aging mechanics. Software does not repair physical damage. At best, it marks bad areas so the drive stops trying to use them.
Do not run CHKDSK first
A lot of people go straight to CHKDSK because it is built in and feels safe. I would not do that on a drive you care about.
CHKDSK tries to make the file system consistent again. Its job is to get the volume back into usable shape. Your files are not its main concern. If metadata is broken, it might drop references, cut links to folders, or shuffle damaged entries into recovery fragments. I have seen people run it and lose the easy recovery path they had before.
First step should be a clone or image. Byte for byte, if the drive still responds. One careful read pass onto a healthy drive. Then you work from the copy, not the original. The failing disk goes on a shelf.
My usual DIY path
What worked best for me was making an image with recovery software, then scanning the image instead of the failing disk.
I had decent results with Disk Drill. Most people know it for deleted files, but the disk imaging part matters more here. On unstable drives, the useful behavior is this: it does not sit forever on one ugly sector and drag the whole job into the ground. It skips rough areas, pulls clean data first, then circles back and tries smaller reads on the stubborn parts. That matters. Less time grinding on one damaged block means less stress on a drive already on borrowed time.
The basic workflow
- Get another healthy drive with enough free space.
- Create a full image or clone of the failing drive.
- Disconnect the bad drive once the image is done.
- Mount or attach the image file in the recovery tool.
- Scan the image for recoverable files.
- Restore recovered files onto a different destination drive.
Do not recover files back onto the same bad disk. I know people still try it. Bad move.
When software is the wrong move
If the drive clicks, grinds, beeps, spins down, fails to spin up, or vanishes from BIOS, I would stop the DIY attempt.
Those sounds usually point to mechanical failure. At that stage, software is not the fix. If the data matters, family photos, client work, old projects you cannot rebuild, send it to a lab. Places like Gillware or Techchef handle head swaps and controlled recovery work. Cost is often somewhere around $500 to $3,000 from what I have seen, sometimes more if the damage is ugly. Painful, yep. Still cheaper than losing irreplaceable data.
After recovery
Once your files are copied out and checked, open them. Spot check docs, photos, videos, archives. Do not assume a successful copy means clean data.
Only after your data is safe should you mess with the original drive. If you still want to use it for throwaway storage, you can run a full format or use chkdsk /r in PowerShell to map out bad areas. I would not trust a drive like this for anything important again. When a disk starts throwing these symptoms, it tends to keep sliding.
What I changed after dealing with this
I stopped trusting a single copy of anything important. The 3-2-1 backup rule is boring, but it saves you when hardware goes weird.
3 copies of your data.
2 different storage types.
1 copy off-site or in the cloud.
Set it up once and your future self gets a much easier week.
15 Likes
Clicking changes the answer. I would treat this as possible head failure, not a file system problem. If the files matter, power it off and stop testing folders, scans, and copy attempts. Every extra read hurts your odds.
I agree with @mikeappsreviewer on one big point, skip CHKDSK at this stage. Where I differ a bit is DIY imaging. If the drive clicks more than once every so often, or drops from BIOS, I would skip home recovery software first and price a lab. Clicking plus bad sectors is a bad combo.
If you still want one controlled DIY try, do it once. Use a direct SATA connection, not a flaky USB dock. Keep the drive cool. Watch SMART with CrystalDiskInfo. If Reallocated, Pending, or Uncorrectable counts are rising during the copy, stop. For software, Disk Drill is fine for making an image and then scanning the image, not the source drive. R-Studio or ddrescue are also worth a look if you know what you are doing.
Priority order for me:
- Most important files first, if the drive stays readable.
- Full image to a healthy disk, if reads are stable enough.
- Recover from the image only.
If the drive is your boot drive, pull it and attach it to another PC as a secondary disk. Do not boot from it again.
Also, this guide on how to deal with bad sectors on a hard drive before total failure is worth reading.
If it starts clickng louder, spins down, or vanishes, stop imediately and send it out.
Clicking changes this from “maybe recoverable at home” to “handle it like it could die on the next power cycle.” I mostly agree with @mikeappsreviewer and @techchizkid, but I’m a little less optimistic about squeezing in lots of DIY attempts once mechanical noise starts.
My take:
- If the data is truly important, stop powering it on and get a pro quote first.
- If pro recovery is too expensive and you accept the risk, do exactly one controlled attempt.
- Don’t run CHKDSK, don’t defrag, don’t keep opening the same folders hoping they magically work this time. Thats how people cook a dying drive.
One thing I’d add that they did not really stress enough: clicking can also mean head alignment/read failure, and every retry can mean the heads are repeatedly slamming around trying to calibrate. That is not just “bad sectors.” That’s potential hardware failure.
If you do a home attempt:
- use a desktop SATA port, not a cheap USB bridge
- have the destination drive ready first
- copy the most irreplaceable files before going for a full image
- if the drive slows to a crawl, disappears, or the clicking gets worse, stop imediately
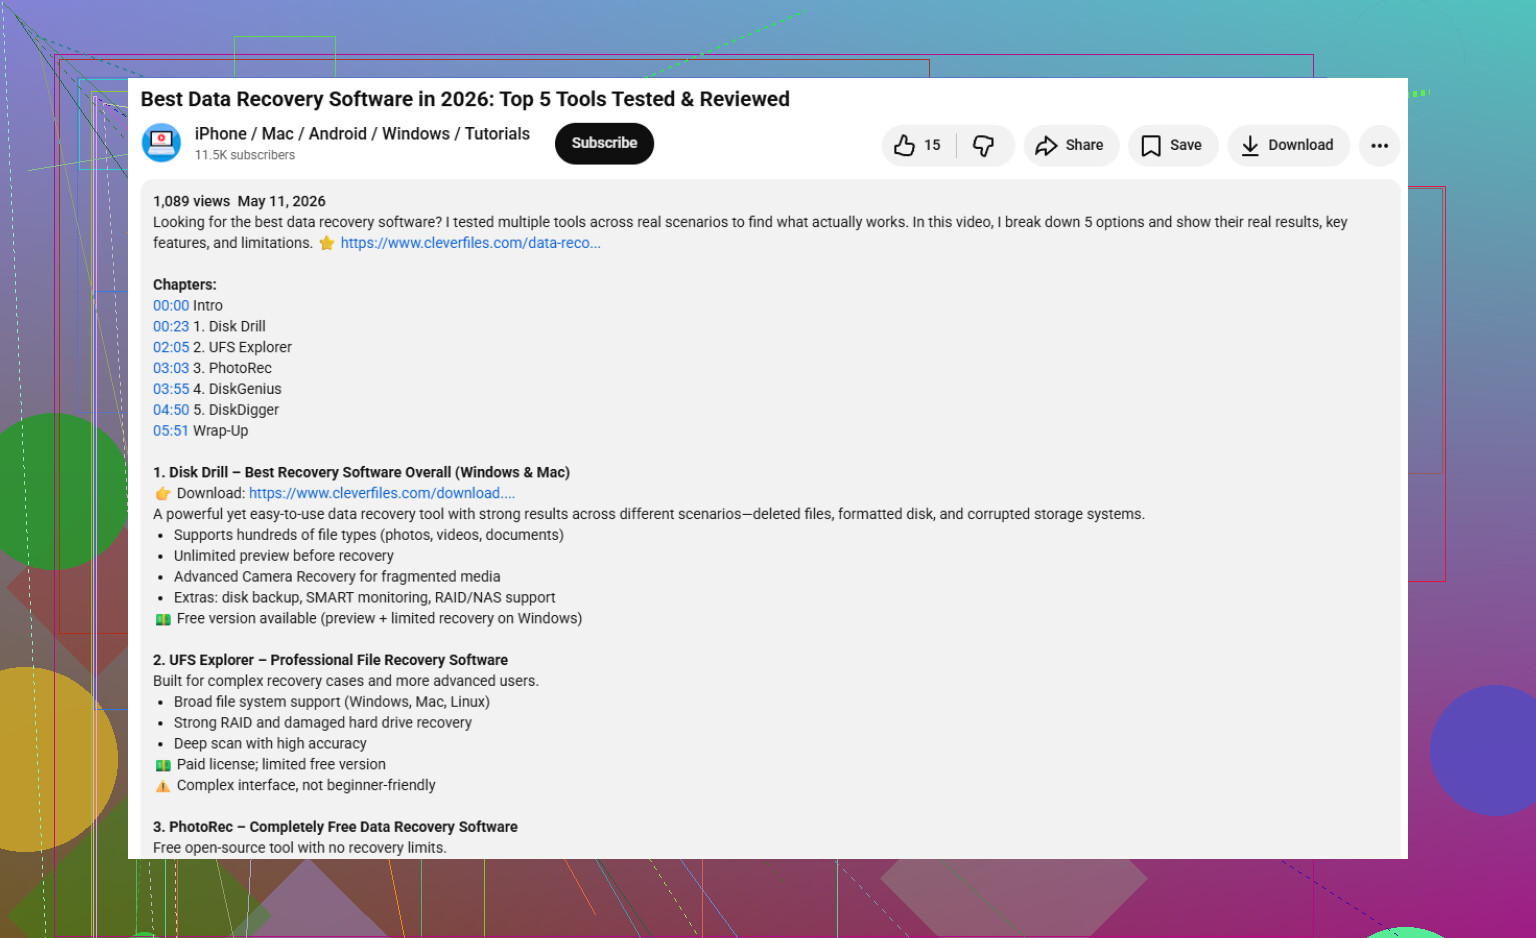
Disk Drill is reasonable here mainly because you can image first and work from the image instead of torturing the source disk. That part matters more than the file scan. If you want more info before choosing a data recovery tool for your own situation, this is a decent watch: how to choose the right data recovery software.
One small disagreement with the usual advice: “always image the whole drive first” is not perfect if the drive is actively degrading fast. Sometimes grabbing the absolutely critical folders first is the smarter move.
Also, freezer tricks, tapping the drive, random YouTube “repairs”… no. That’s forum horror-story material.
Clicking is the part that makes me slightly more conservative than @techchizkid and @mikeappsreviewer on DIY. Bad sectors alone can sometimes be a careful software job. Clicking plus bad sectors often means the drive is failing at the hardware level, so your “recovery budget” is basically the number of safe power-on minutes you have left.
My take:
- If the files are worth real money or are irreplaceable, skip experiments and get a lab quote now.
- If they are important but not worth pro recovery pricing, do one short, controlled attempt only.
- If the drive is clicking repeatedly during idle, not just when first spinning up, I would not do a full surface scan at home.
Small disagreement with the usual “image everything first” rule: if the drive still mounts and you know exactly which 2 or 3 folders matter most, I’d grab those first before chasing a perfect clone. On some dying drives, the window closes before the image finishes.
A few things I would add that were not stressed enough:
-
Check the drive label/model before doing anything.
Some families of drives have terrible reputations for head issues or firmware weirdness. That can change whether DIY is sensible. -
Avoid power cycling it over and over.
People shut down, reconnect, reboot, retry in USB, then SATA, then another PC. That repeated spin-up can finish off a weak drive. -
Don’t trust USB power.
Even if the USB bridge is not flaky, borderline power on bus-powered externals can make symptoms look worse than they are.
About Disk Drill specifically, since it came up:
Pros:
- easy imaging workflow
- good for scanning an image instead of hammering the original
- friendlier than a lot of pro-focused tools
Cons:
- not my first pick for severe mechanical instability
- can feel heavy if you only want raw cloning
- less ideal than ddrescue-style workflows when you need very granular read retry control
So yes, Disk Drill is reasonable if the drive stays visible long enough to make an image, but I would treat it as an image-first tool here, not a magic fix. If the clicking increases, or it vanishes mid-read, stop. At that point @chasseurdetoiles has the right instinct: software is no longer the main answer.