Windows is only showing my drive as a protective MBR instead of the original GPT partitions, and I can’t access the data. I’m trying to figure out the safest GPT partition recovery steps without formatting or making things worse. What tools or checks should I use first?
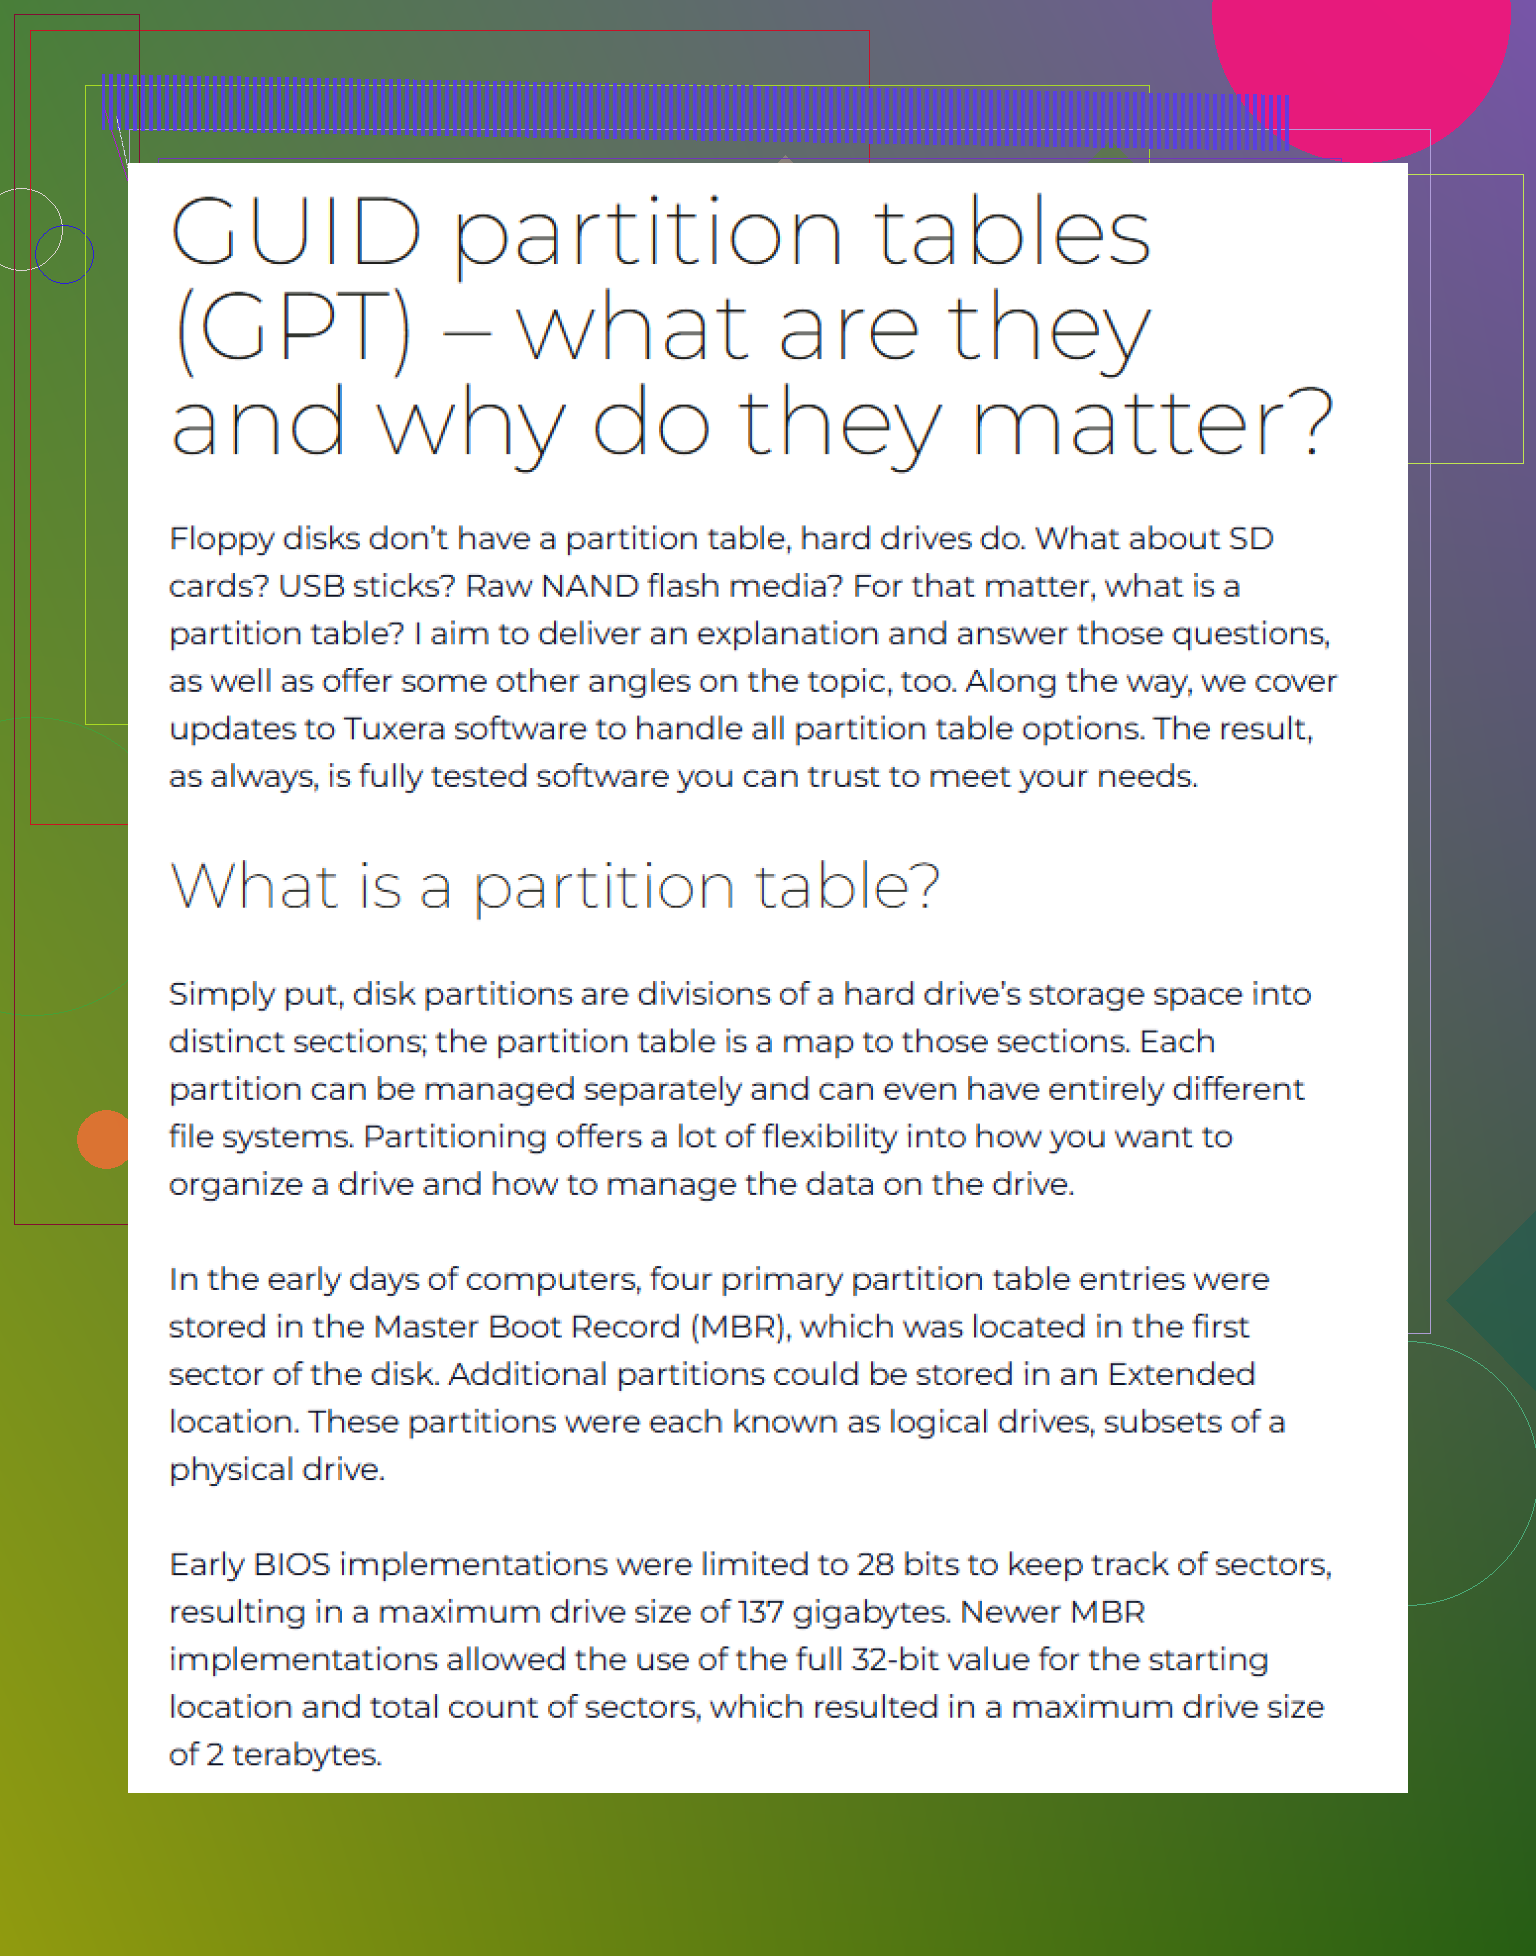
If a disk suddenly shows up as “RAW,” “Unallocated,” or “GPT Protective Partition,” don’t assume the data is gone right away. It can be scary, but with GPT drives there may still be a backup partition table at the end of the disk. So if the main table is damaged, the files might still be sitting there.
The worst thing you can do is start clicking through Windows prompts to “initialize” or “format” the drive. Don’t create a new partition, don’t make a new volume, and don’t run anything that writes changes to the partition table. At this point, the goal is simple: touch the drive as little as possible.
The safer approach is to make a full clone or image first. A sector-by-sector image gives you something to work on without risking the original disk. Tools like dd can do this, and ddrescue is usually better if the drive might have bad sectors because it handles read problems more carefully.
Once you have that image, do your scans and recovery attempts on the copy. If something goes wrong, the original drive has not been changed.
For most people, I would recover the files before trying to “fix” the partition table. Repair sounds tempting, but if the wrong structure gets written, you can make the recovery harder.
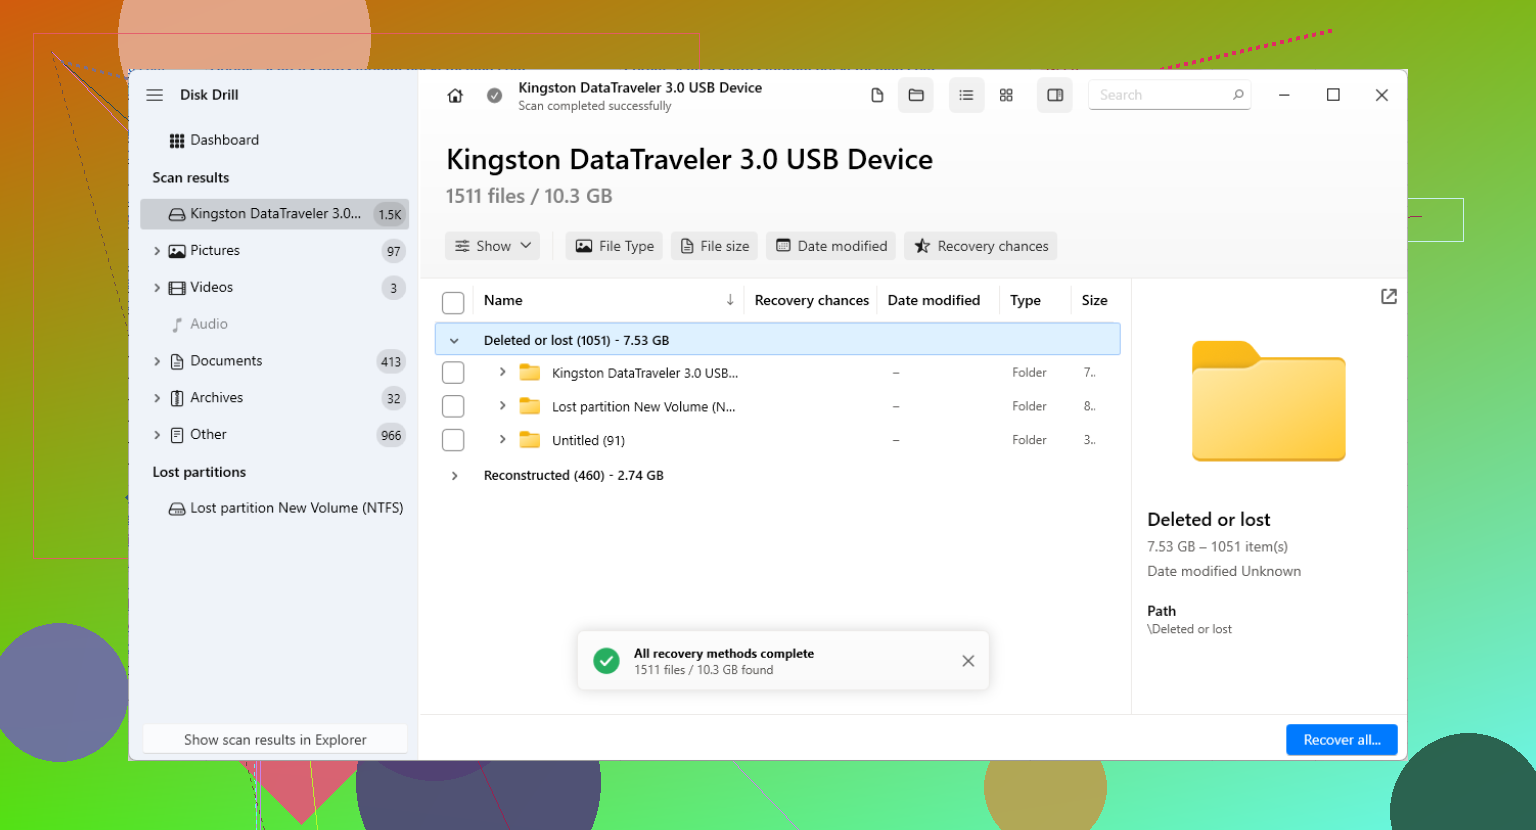
Disk Drill is a reasonable option if you want something easier to use. It can scan for lost partitions, damaged file systems, and file signatures without making you manually edit partition tables. The scan itself does not write to the damaged drive, so you can check what it finds before doing anything else.
If the scan shows your files and the previews look right, recover them to a different drive with enough free space. Do not save recovered files back onto the problem disk. That can overwrite data you still need to pull off.
After your important files are copied somewhere safe, then you can think about repairing the GPT.
TestDisk is often used for this because it can analyze the disk, find lost partitions, and rebuild the partition table if it detects the correct layout. Just be careful at the write step. Don’t commit changes unless the partition it found actually matches what was there before.
gdisk can also help with GPT-specific damage. Since GPT stores a secondary header near the end of the drive, gdisk can sometimes rebuild the main GPT header from that backup copy.
One extra thing about “GPT Protective Partition”: don’t use Diskpart clean as a quick fix. It removes partition information, which is the opposite of what you want if you’re trying to recover data.
That message can show up because of an older OS, a compatibility issue, or even a USB dock/enclosure that is not reading the drive properly. Before doing anything destructive, scan it with recovery software and see if the files are visible. A lot of the time, Windows just can’t mount the volume normally, but the data is still there.
13 Likes
Do not run Disk Management’s initialize or convert prompts just to make the drive show up again. If Windows only sees “GPT Protective Partition,” the drive may be fine and Windows may simply be reading it through the wrong layer.
The missing detail here is the hardware path. Before doing recovery scans, check whether the disk is in the same enclosure, dock, adapter, RAID box, or NAS it came from. Some USB bridges report sector size differently, and some RAID/NAS units write layouts that plain Windows will not understand. Moving a big GPT disk from one enclosure to another can make the partition table look wrong even when the data is still there. In that case, “repairing” the GPT from Windows could be the thing that actually breaks it.
I agree with the clone-first advice, but I’d do one quick non-writing check before any repair attempt: look at the disk in a tool that shows the actual disk size, sector size, and GPT headers. If the capacity looks smaller than expected, stop and suspect the adapter or enclosure. If the disk came from a RAID, do not scan individual member disks as if they were normal standalone drives unless you know the array layout.
File recovery tools like Disk Drill can be useful after that, especially if you just need the files back and don’t want to manually rebuild partitions. But I would treat any “fix partition table” button or write step as the last move, not the first. Get the files onto another drive first, then worry about making the original mount normally again.
The sneaky risk is that a tool can “find” a partition layout that looks believable but is from an older setup or the wrong offset. That’s why I wouldn’t judge success by whether TestDisk, Disk Drill, or anything else lists a partition name. Judge it by whether the files preview correctly, folder structure makes sense, and the sizes line up with what you remember. If you need a quick sanity check before a full recovery run, booting a Linux live USB and looking at the disk read-only with lsblk, fdisk -l, or gdisk -l can tell you whether Windows is the only thing confused. But don’t run chkdsk, don’t “fix” the volume, and don’t write a rebuilt GPT just because the first scan result looks close. Recover the important files to another disk first, then treat partition repair as optional cleanup.