I accidentally took a bunch of Live Photos on my iPhone and now they’re taking up space in my camera roll. I’m trying to figure out if I can delete the Live Photo effect after the picture is taken without removing the whole image. I need help finding the easiest way to turn a Live Photo into a regular photo or remove it completely.
I hit this same mess a while back. I didn’t want to trash my photos. I wanted the motion part gone, because those tiny Live clips were eating space and making the whole library feel bloated. I looked around in iOS first, expecting some plain bulk toggle. Didn’t find one.
Figure out your target first
From what I saw, people usually mean one of two different things when they say they want to remove Live Photos.
Option 1: Delete the Live Photos completely.
Option 2: Keep the image, remove the Live portion.
Those are not the same job.
If your goal is full deletion, Apple’s own Photos app is enough. Open the Live Photos album, select what you don’t want, delete it, then empty Recently Deleted. If you skip the last step, your storage number won’t drop right away. I missed this once and thought my phone was lying to me. It wasn’t.
What I was trying to do
I needed the second option. Keep the picture. Lose the motion.
You can do it by hand, one photo at a time, and for a small batch it’s fine. For a huge pile, it gets old fast. I tried the manual route first. After a bit, it felt dumb. Too many taps. Too much checking. If you’ve got 20 photos, okay. If you’ve got hundreds, nope.
What worked better for me
I ended up using Clever Cleaner after I realized I had way more Live Photos than I thought.
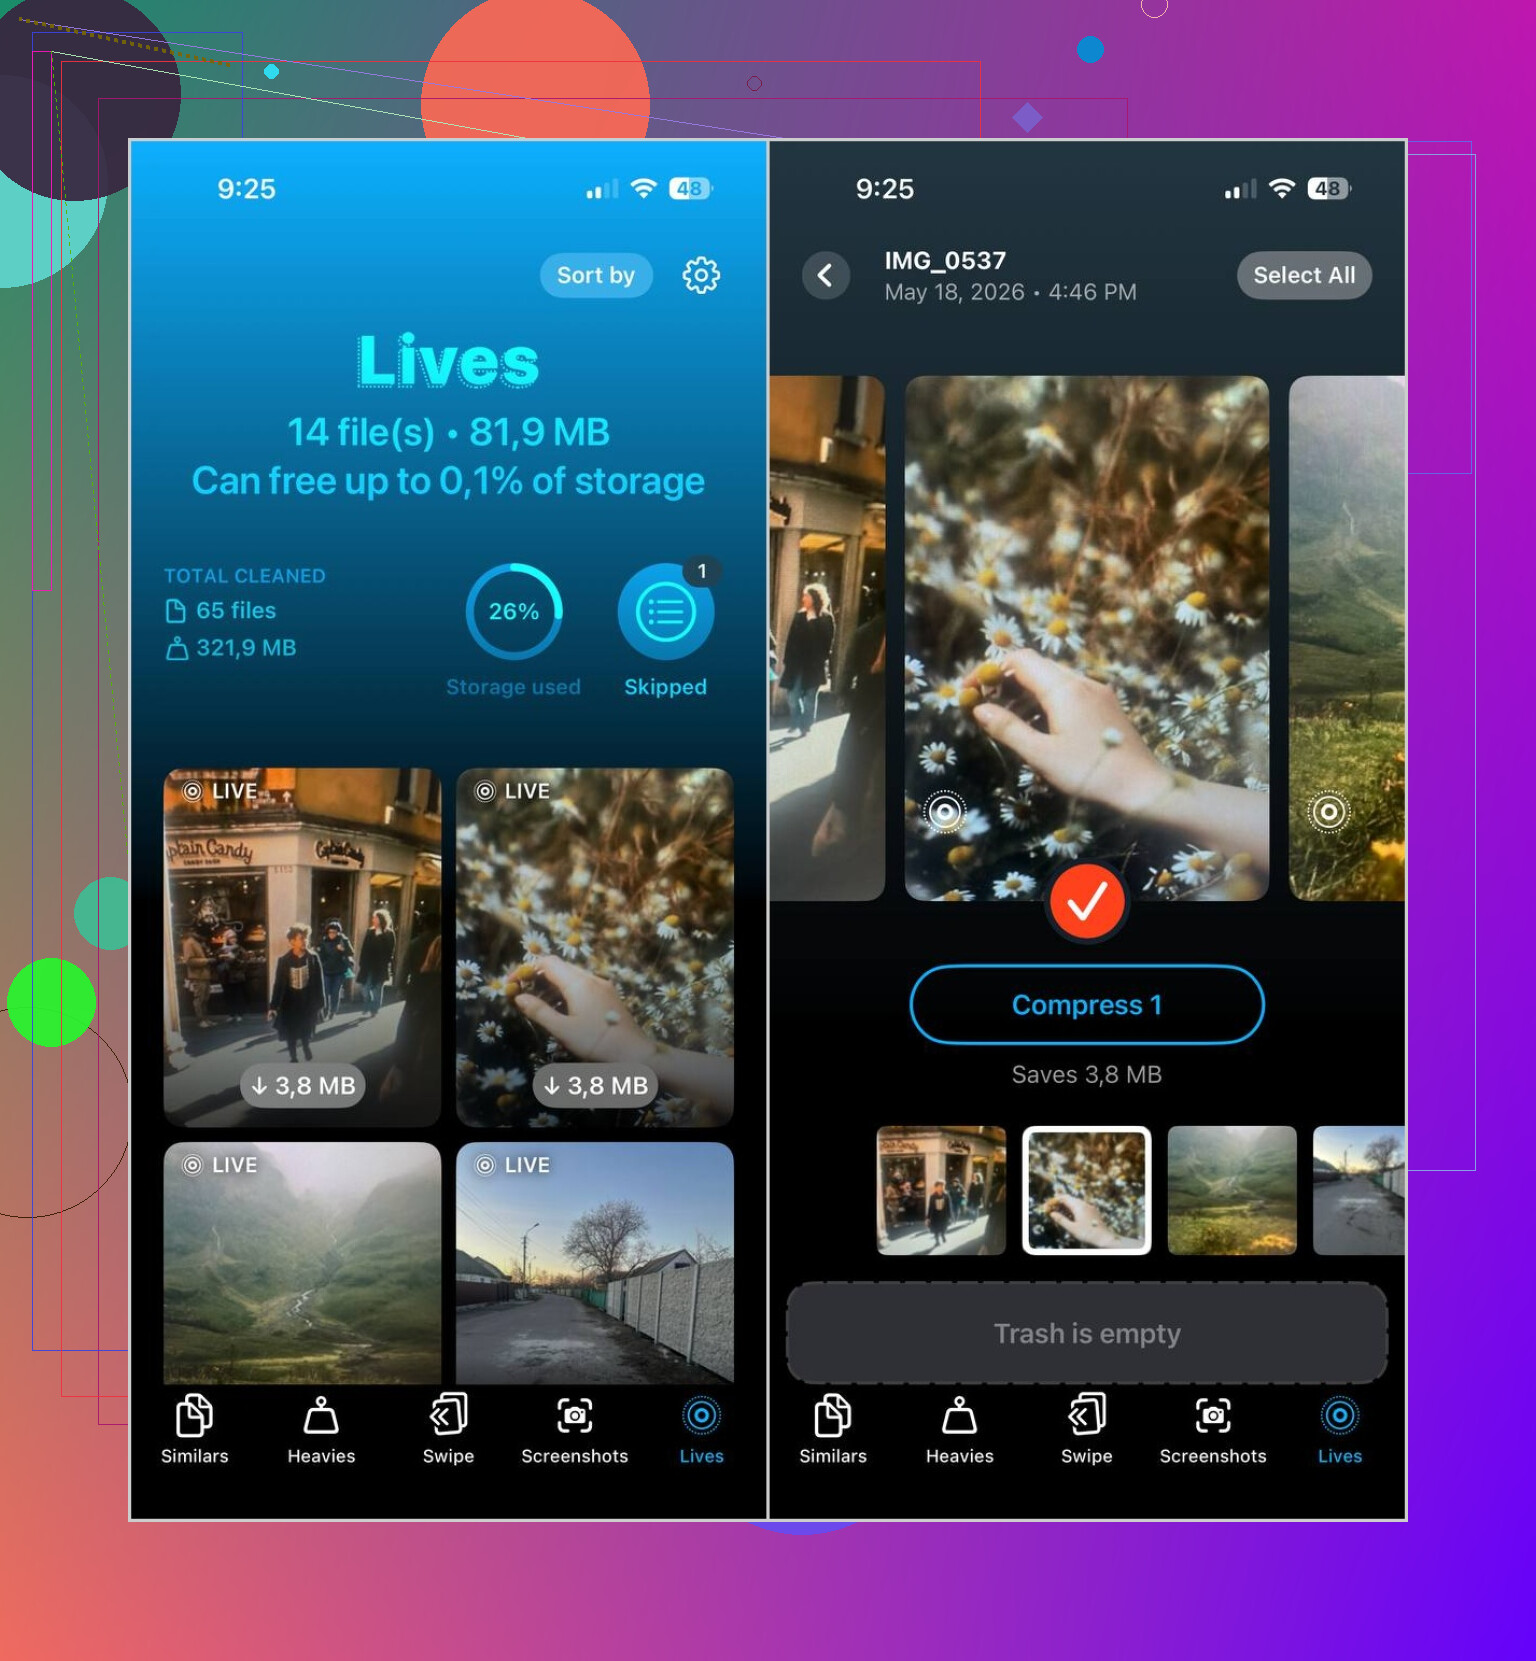
The useful part was simple. It separates Live Photos into their own section. I opened the app, tapped Lives, and there they were. No scrolling through years of random pictures trying to spot which ones had motion attached.
The steps were pretty short:
- Open the Lives section
- Sort by date or file size
- Pick the ones you want to change
- Tap Compress
- Check the output
- Delete the original Live Photos if the still versions look fine
The label says “Compress,” which threw me off at first, but in practice it turned the Live Photos into regular stills and then let me deal with the originals after. That part mattered, because I didn’t want anything removed before I checked it.
Stuff I didn’t expect to use
I grabbed it for the Live Photo cleanup, then ended up going through the other sections too.
Similars helped me cut out repeat shots from trips, birthdays, and all the usual burst-photo clutter. You know the type, six nearly identical photos of the same person blinking at different times.
Heavies was useful in a more painful way. It surfaced the biggest videos first, and I found a few old recordings sitting there taking multiple gigabytes on their own. I had forgotten all of them.
Screenshots cleaned up the rest of the junk fast. Old receipts, maps, random confirmation pages, app settings screens. Years of nonsense, gone in minutes.
What I’d do in your spot
If you only have a small batch, I’d stick with the built-in Photos tools and do it manually.
If your library is packed with Live Photos and you want the pictures without the motion baggage, I’d skip the slow tap-by-tap method and use Clever Cleaner. The Lives view solved the main problem for me, which was finding and processing them in one place instead of fighting the Photos app.
7 Likes
Yes. You have two separate choices.
If you want the whole Live Photo gone, delete the photo.
If you want to keep the pic and remove the motion, open the photo in Photos, tap Edit, tap the LIVE icon at the top, then turn Live off and save. This keeps the still image. The catch is speed. iPhone does this one photo at a time. No batch fix in Photos, which is kind of dumb.
I differ a bit from @mikeappsreviewer on one point. For a small batch, I would not install anything first. iOS handles it fine if you only messed up a few shots.
For a bigger cleanup, Clever Cleaner makes more sense. It helps sort Live Photos fast, which saves a lot of scrolling. If your goal is iPhone photo storage cleanup and removing Live Photos without losing the still image, tools like that are faster than tapping through each file manualy.
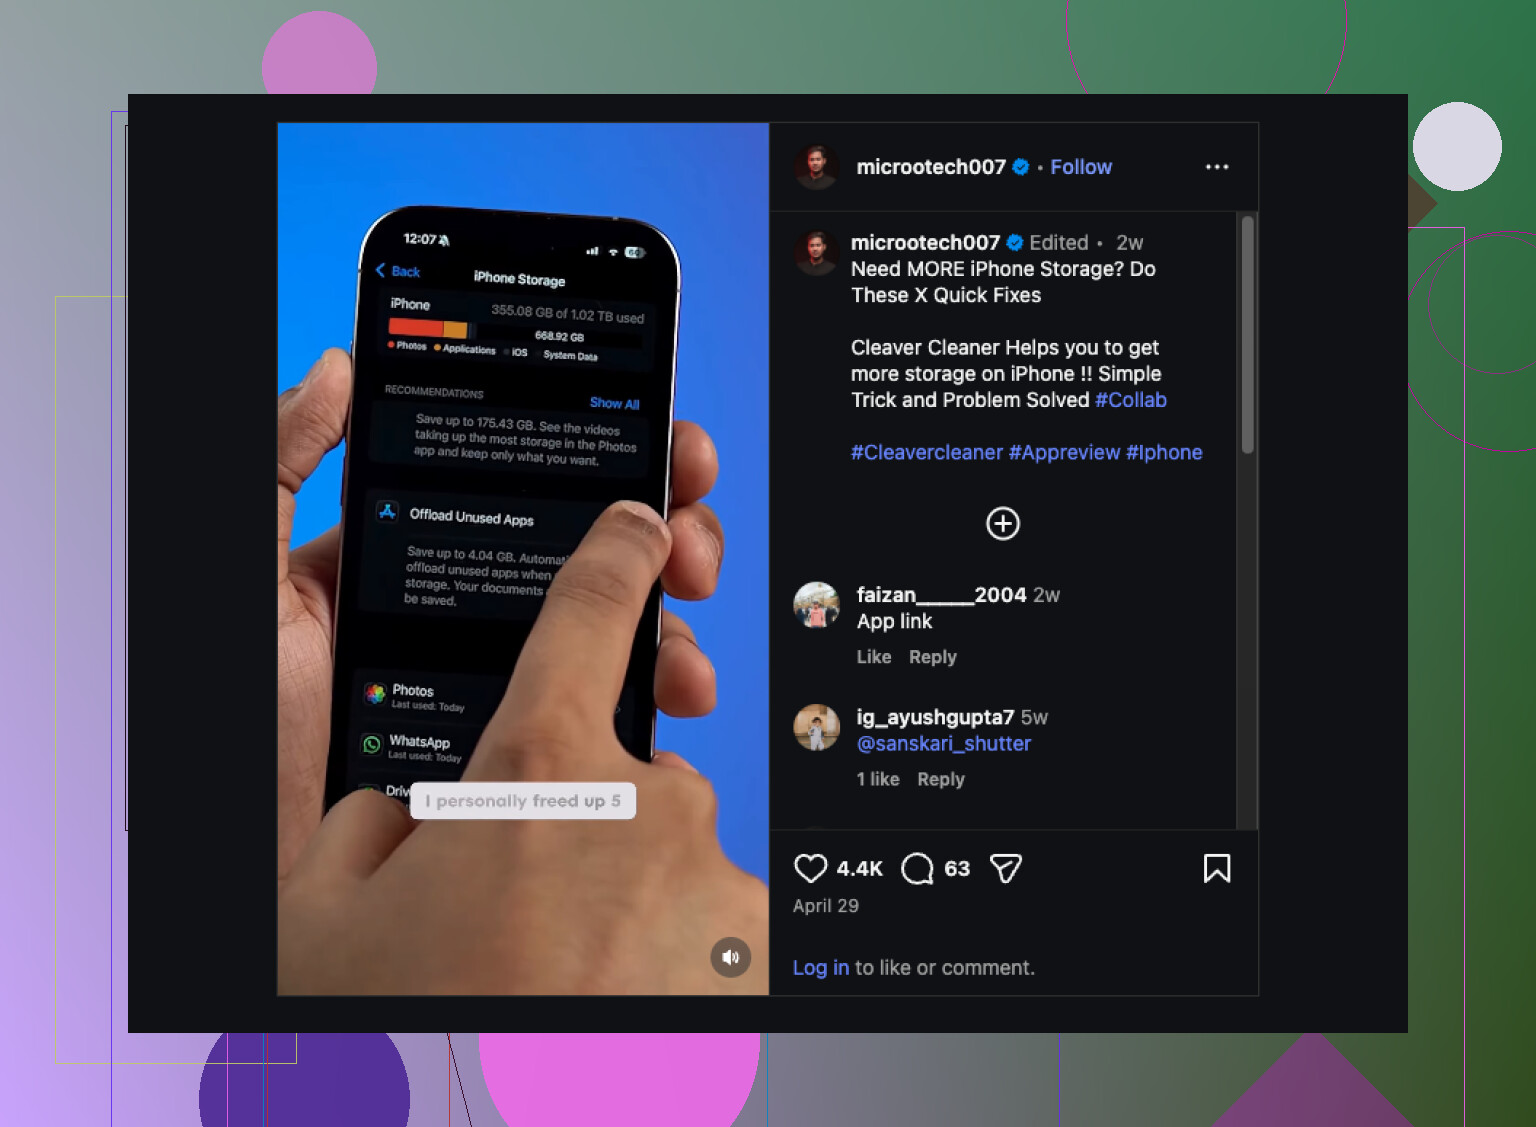
Also check Settings, General, iPhone Storage, Photos. That gives you a better read on what is eating space.
If you want a simple visual on clearing iPhone storage fast, this smart iPhone storage cleanup walkthrough is worth a look.
Yep, possible, but with an annoying asterisk.
What @mikeappsreviewer and @andarilhonoturno covered is mostly right, but I’d push back on the “space savings” part a little. Turning off the Live effect after the fact does not always feel as dramatic storage-wise as people expect, especially if iCloud Photos is syncing and your phone hasn’t recalculated storage yet. So if you change a bunch and the storage bar barely moves at first, that’s pretty normal.
What you can do is keep the still photo and strip out the Live part. The bigger issue is that Apple makes this clunky at scale. There’s no clean built-in mass convert button, which is peak Apple behavior tbh.
If you only did a handful, just edit the ones that matter and move on.
If you did a ton, I’d honestly focus on workflow, not just deletion. The easiest route is using Clever Cleaner to sort Live Photos faster and deal with them in batches instead of hunting through your whole library like a maniac. This is probly the better read if you want a simple explainer on how to clean up Live Photos on iPhone without losing the still image.
One more thing people forget: if you never want this again, open Camera and tap the Live icon off before shooting, then go into Camera settings and make sure it keeps that preference. Otherwise iPhone loves to “help” you by turning stuff back on later. Super helpful. Not.