My Seagate external hard drive suddenly stopped showing up correctly on my computer, and it has important photos and documents on it. I’m trying to figure out the safest data recovery option before I make things worse. Should I try recovery software, check the enclosure/cable, or go straight to a professional Seagate hard drive recovery service?
First thing: stop using the Seagate drive for now. Don’t format it, don’t copy anything onto it, and don’t run Windows repair tools unless you already have another copy of the data somewhere. If the files disappeared because the file system got damaged, the data may still be sitting there. Writing new data to the drive is what can make recovery much harder.
Before trying software, figure out whether the drive sounds physically bad. Plug it in for a short moment and listen. If you hear clicking, scraping, grinding, or anything that sounds wrong, stop. Don’t keep scanning it over and over. Mechanical drives can get worse the more they’re used when they’re failing.
In that case, check Seagate’s Rescue Data Recovery Services first. Some Backup Plus drives came with Rescue coverage, so it’s worth checking the serial number on Seagate’s site before paying for recovery yourself.
If the drive sounds normal and Windows still detects it somewhere, then it may just be logical damage. That can look like the drive not showing in File Explorer, showing as RAW, appearing empty, or Windows asking you to format it. Annoying, but not always hopeless.
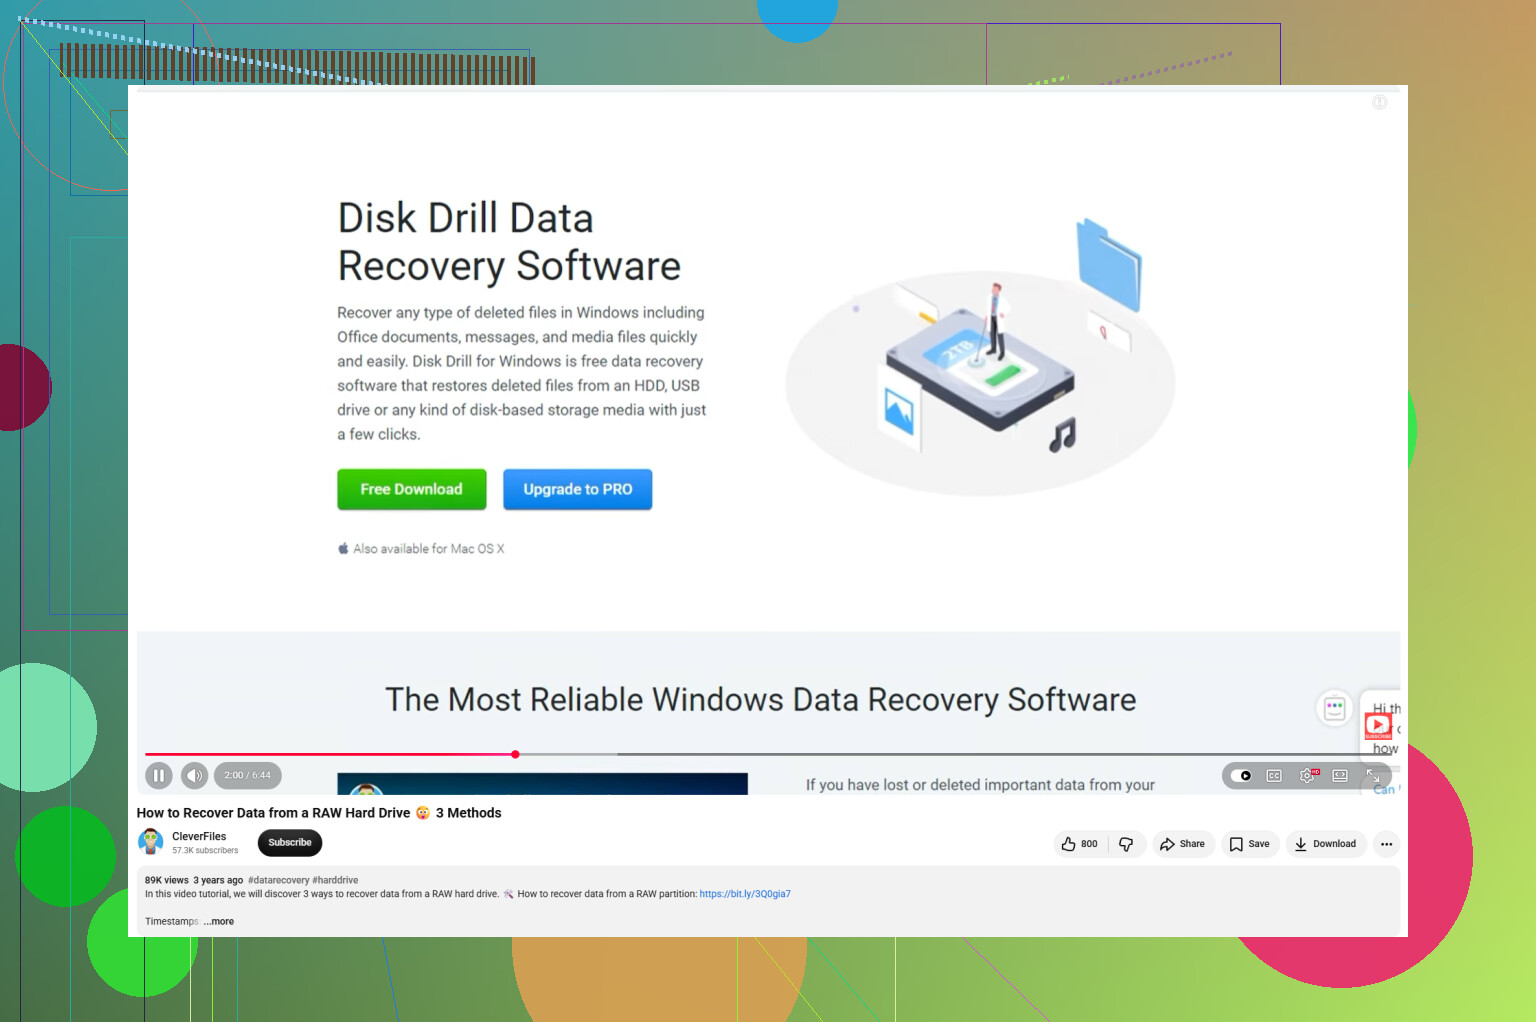
For DIY recovery, you’d usually use recovery software. Disk Drill is one option for Seagate external drives, especially if the partition is missing, the drive shows as RAW, or it was unplugged without safely ejecting.
A safer way to handle it:
- Install the recovery software on your internal drive or a different external drive. Do not install it on the Seagate drive you’re trying to recover.
- If the drive is slow, disconnecting, or acting flaky, make a byte-to-byte backup first. Disk Drill can create a full disk image, then you can scan that instead of hammering the original drive.
- Try a different USB cable or USB port if the drive only shows up sometimes. Portable external drives can be weirdly picky about cables.
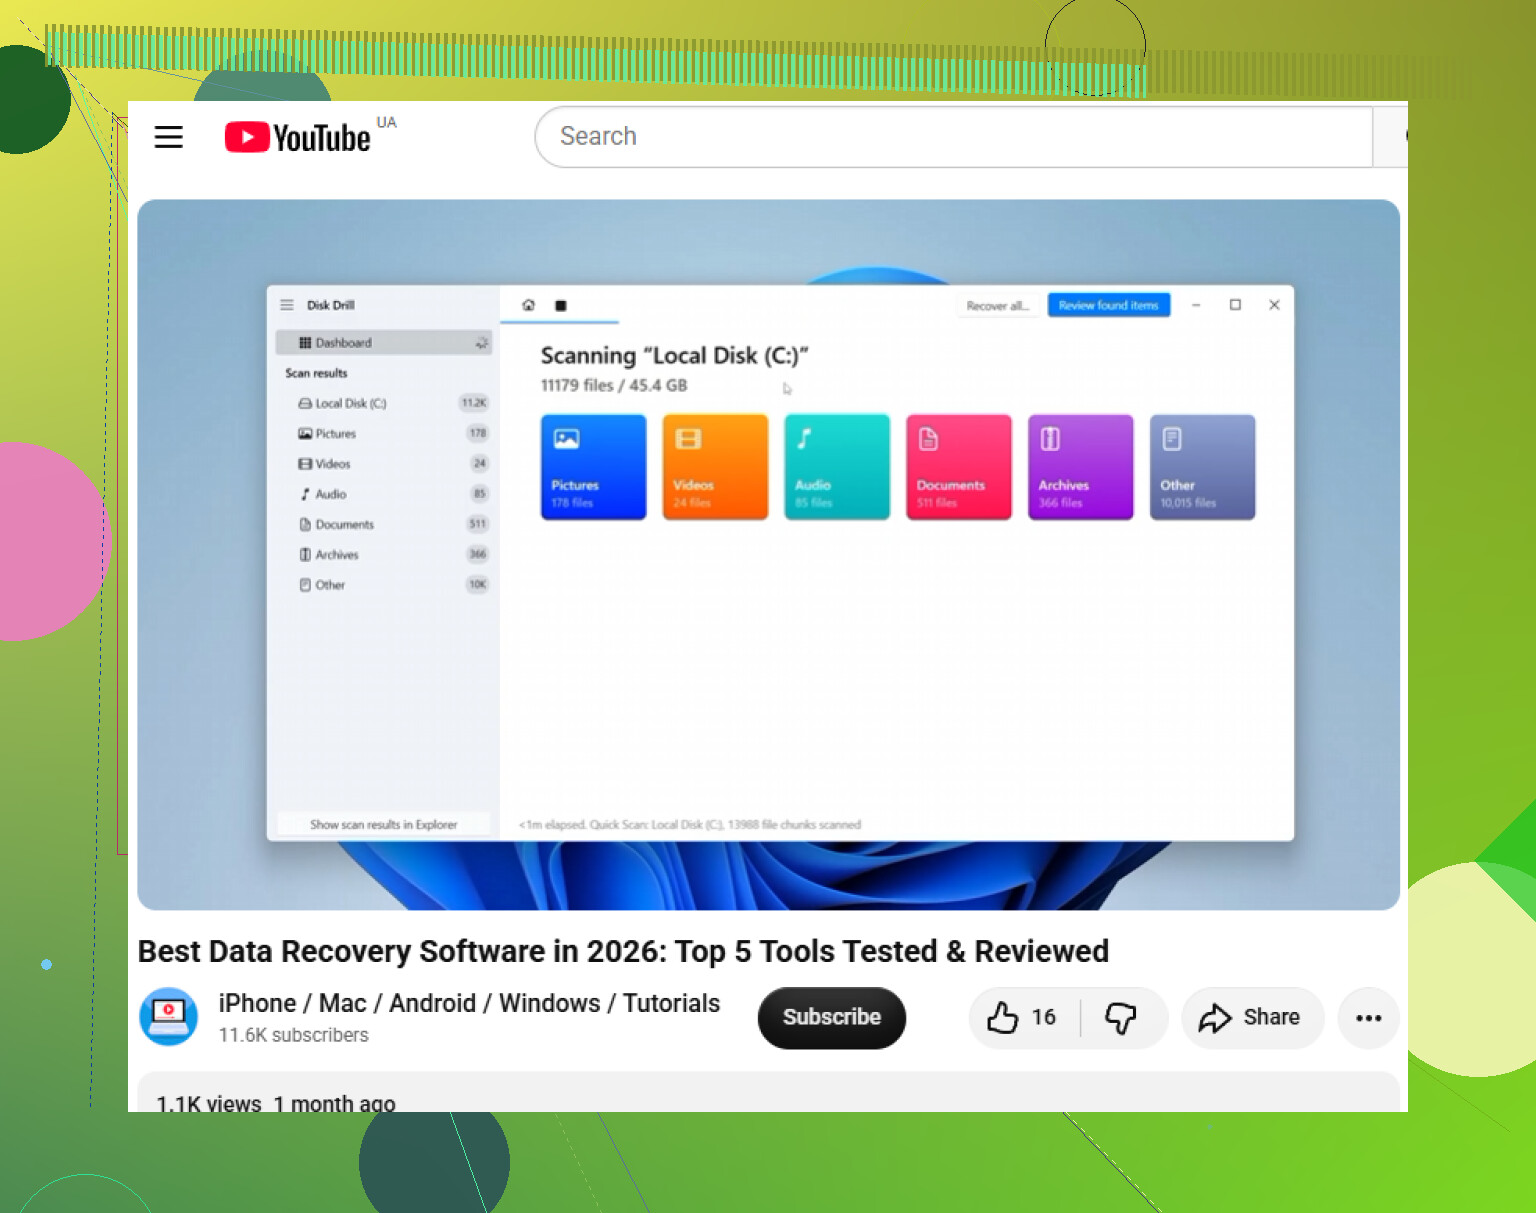
- Scan the Seagate drive or the disk image. When results show up, preview a few important files before recovering everything. If previews work, that’s a good sign.
- Recover the files to a different drive. Never save recovered files back onto the damaged Seagate drive, since that can overwrite other data you still need.
If it doesn’t show in File Explorer, check Disk Management. If it appears there with the correct capacity, like 2TB or 5TB, recovery software may still be able to read it even if Windows can’t mount it normally.
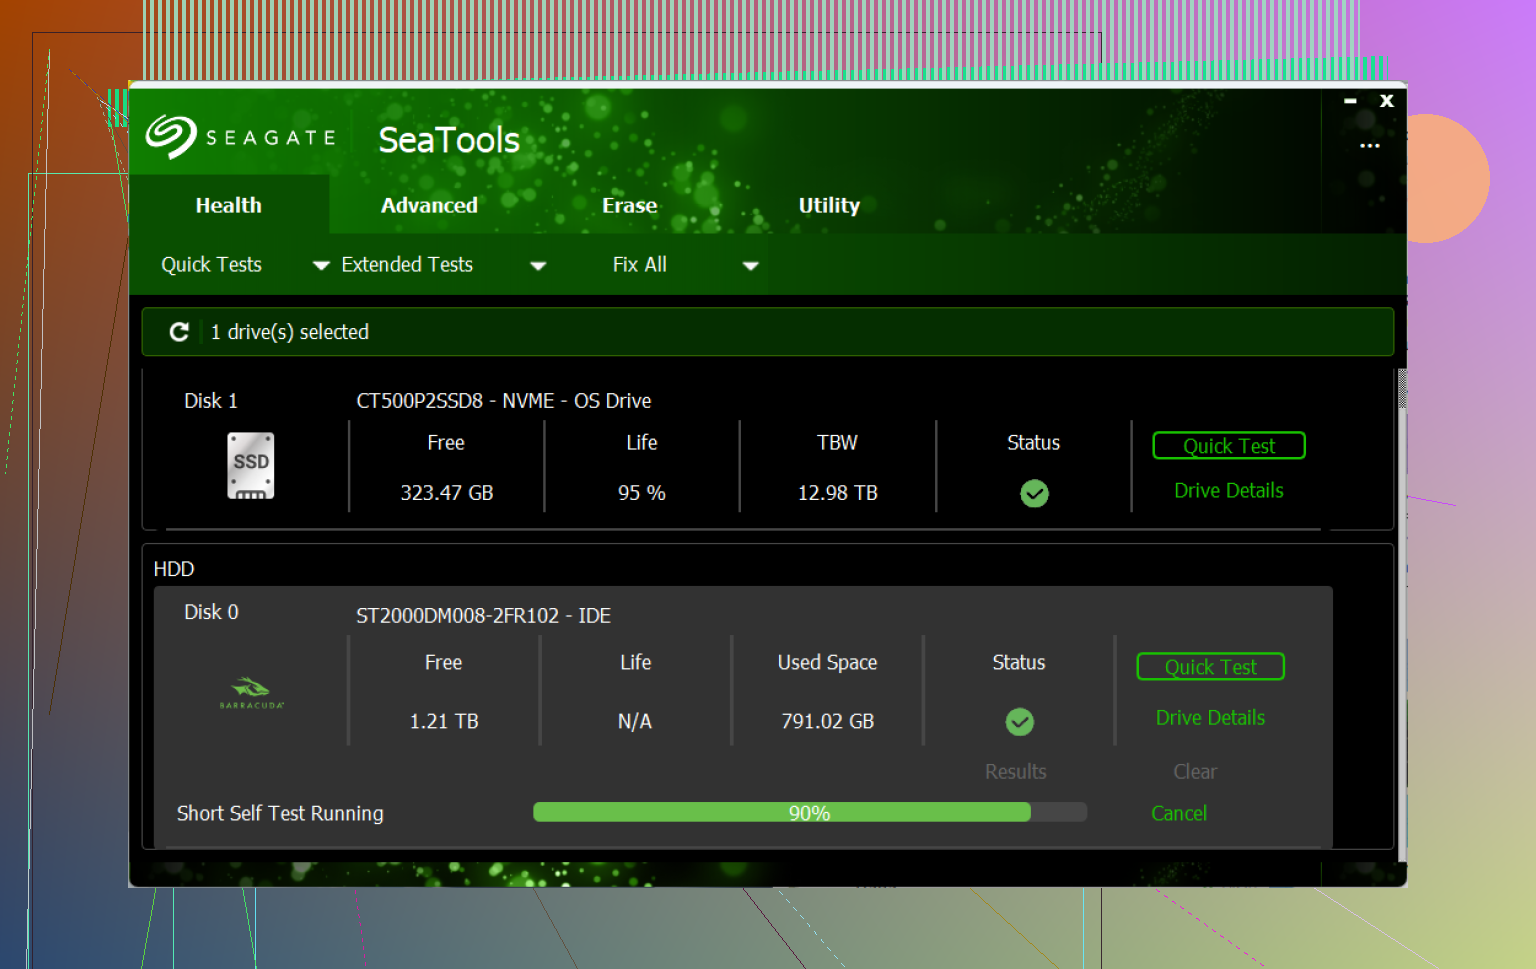
Once you get your files back, don’t just assume the drive is okay. Download Seagate SeaTools and run the Long Generic Test. If it finds errors, replace the drive. If it passes, you can format it and keep using it, but I’d still treat it as suspicious and keep another backup going.
Large drives can take hours to scan, so don’t panic if it’s slow. If the drive powers on, sounds normal, and shows the correct size, there’s still a decent chance the files can be recovered.
8 Likes
A drive that is actually failing is a different problem than a healthy drive sitting behind a bad USB cable, power brick, or enclosure board. I’d separate those before picking a recovery route, because recovery software is the wrong tool if the computer can’t even get stable hardware access to the disk.
If it’s a desktop-size Seagate external with its own power supply, try a known-good power adapter only if the voltage and polarity match exactly. Bad power bricks can make a drive look dead or flaky. If it’s a portable USB drive, try a short, decent USB cable plugged directly into the computer, not a hub. Check whether Disk Management shows the correct capacity. Correct size but RAW/unallocated is usually a software recovery situation. No size, 0 bytes, constant disconnects, or weird noises is more of a lab situation.
I agree with the earlier advice about imaging first, but I’d be stricter about it: if the files matter a lot, don’t do repeated “let’s see what happens” scans on the original. Make a clone/image if the drive stays connected long enough, then scan the copy. Disk Drill is fine for a normal RAW or lost-partition case, but it won’t fix a dying head or a bad USB bridge. And don’t crack open the enclosure unless you’re okay with possible warranty issues and the chance that the bare drive may behave differently outside the case. For irreplaceable photos/documents, the safest option is still professional recovery first, DIY second.
A drive that shows the right size but asks to be formatted is a very different job from a drive that spins up, drops off, and comes back as 0 bytes. In the first case, recovery software is reasonable. In the second case, every extra scan can be one more chance for the drive to get worse.
The annoying thing people sometimes miss is Disk Management can tempt you into “fixing” it. Don’t initialize it, don’t create a new volume, don’t run chkdsk, and don’t let Windows “repair” it. Those options are for making a disk usable again, not for preserving the old folder structure. If Windows sees the correct capacity, I’d focus on imaging the drive first, then scanning the image. If it cannot stay connected long enough to image, that answers the question: stop and use a recovery lab if the files are worth real money.
Disk Drill is fine to try for a logical problem, but I wouldn’t make it the first thing that touches a clicking or disconnecting Seagate. Treat it like a reader, not a repair tool. Scan a clone/image if possible, recover to a separate drive, and expect the folder names to be messy if the file system is badly damaged. If the photos and documents are irreplaceable, the safest option is boring and expensive: professional recovery before DIY experiments.
Assume you may only get one decent read from the drive. That changes the order of operations. Don’t make the first big job a full “recover everything” scan if the drive is flaky. Get another drive with enough free space ready first, then either image/clone the Seagate or pull the most important folders first if it mounts briefly. People lose time trying to save the whole drive when the only truly irreplaceable stuff is photos, tax docs, school/work files, etc.
A cheaper middle ground, if you’re comfortable with a bit of Linux, is GNU ddrescue to clone the failing disk to another disk or image file. It is better suited to a drive with bad spots because it can skip problem areas and come back to them later instead of sitting there grinding on the same unreadable section. It is not beginner-friendly, though, and picking the wrong source/destination can wipe the good drive, so don’t use it casually.
Disk Drill or similar tools make more sense after you have a stable clone/image, or if the Seagate shows the correct capacity and behaves normally but the partition is RAW/missing. If the drive is clicking, vanishing, showing 0 bytes, or taking forever to read simple folders, I’d stop pretending this is a software problem. For important photos and documents, the safest option is still a recovery lab before repeated DIY attempts. The annoying answer is that “safest” and “cheapest” are usually not the same choice here.